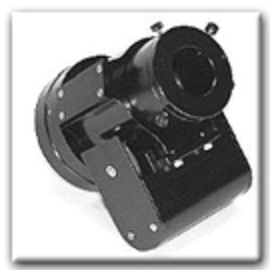
Optec Focuser
| Price (orig Cost): | $300 ($1200) |
| Notes: | 2" Crayford style; very solid. Includes adaptor to connect to Edge 11". Connects via RS232 cable. Edgeport USB to RS232 converter box available (See below). |
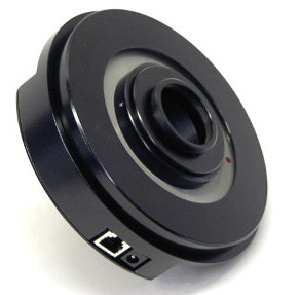
Optec Pyxis 2" Rotator
| Price (orig Cost): | $250 ($1200) |
| Notes: | This is the original Pyxis rotator from Optec. Modjack RS232 input. Edgeport USB to RS232 converter box available (See below). |
Home Built LED Light Panel
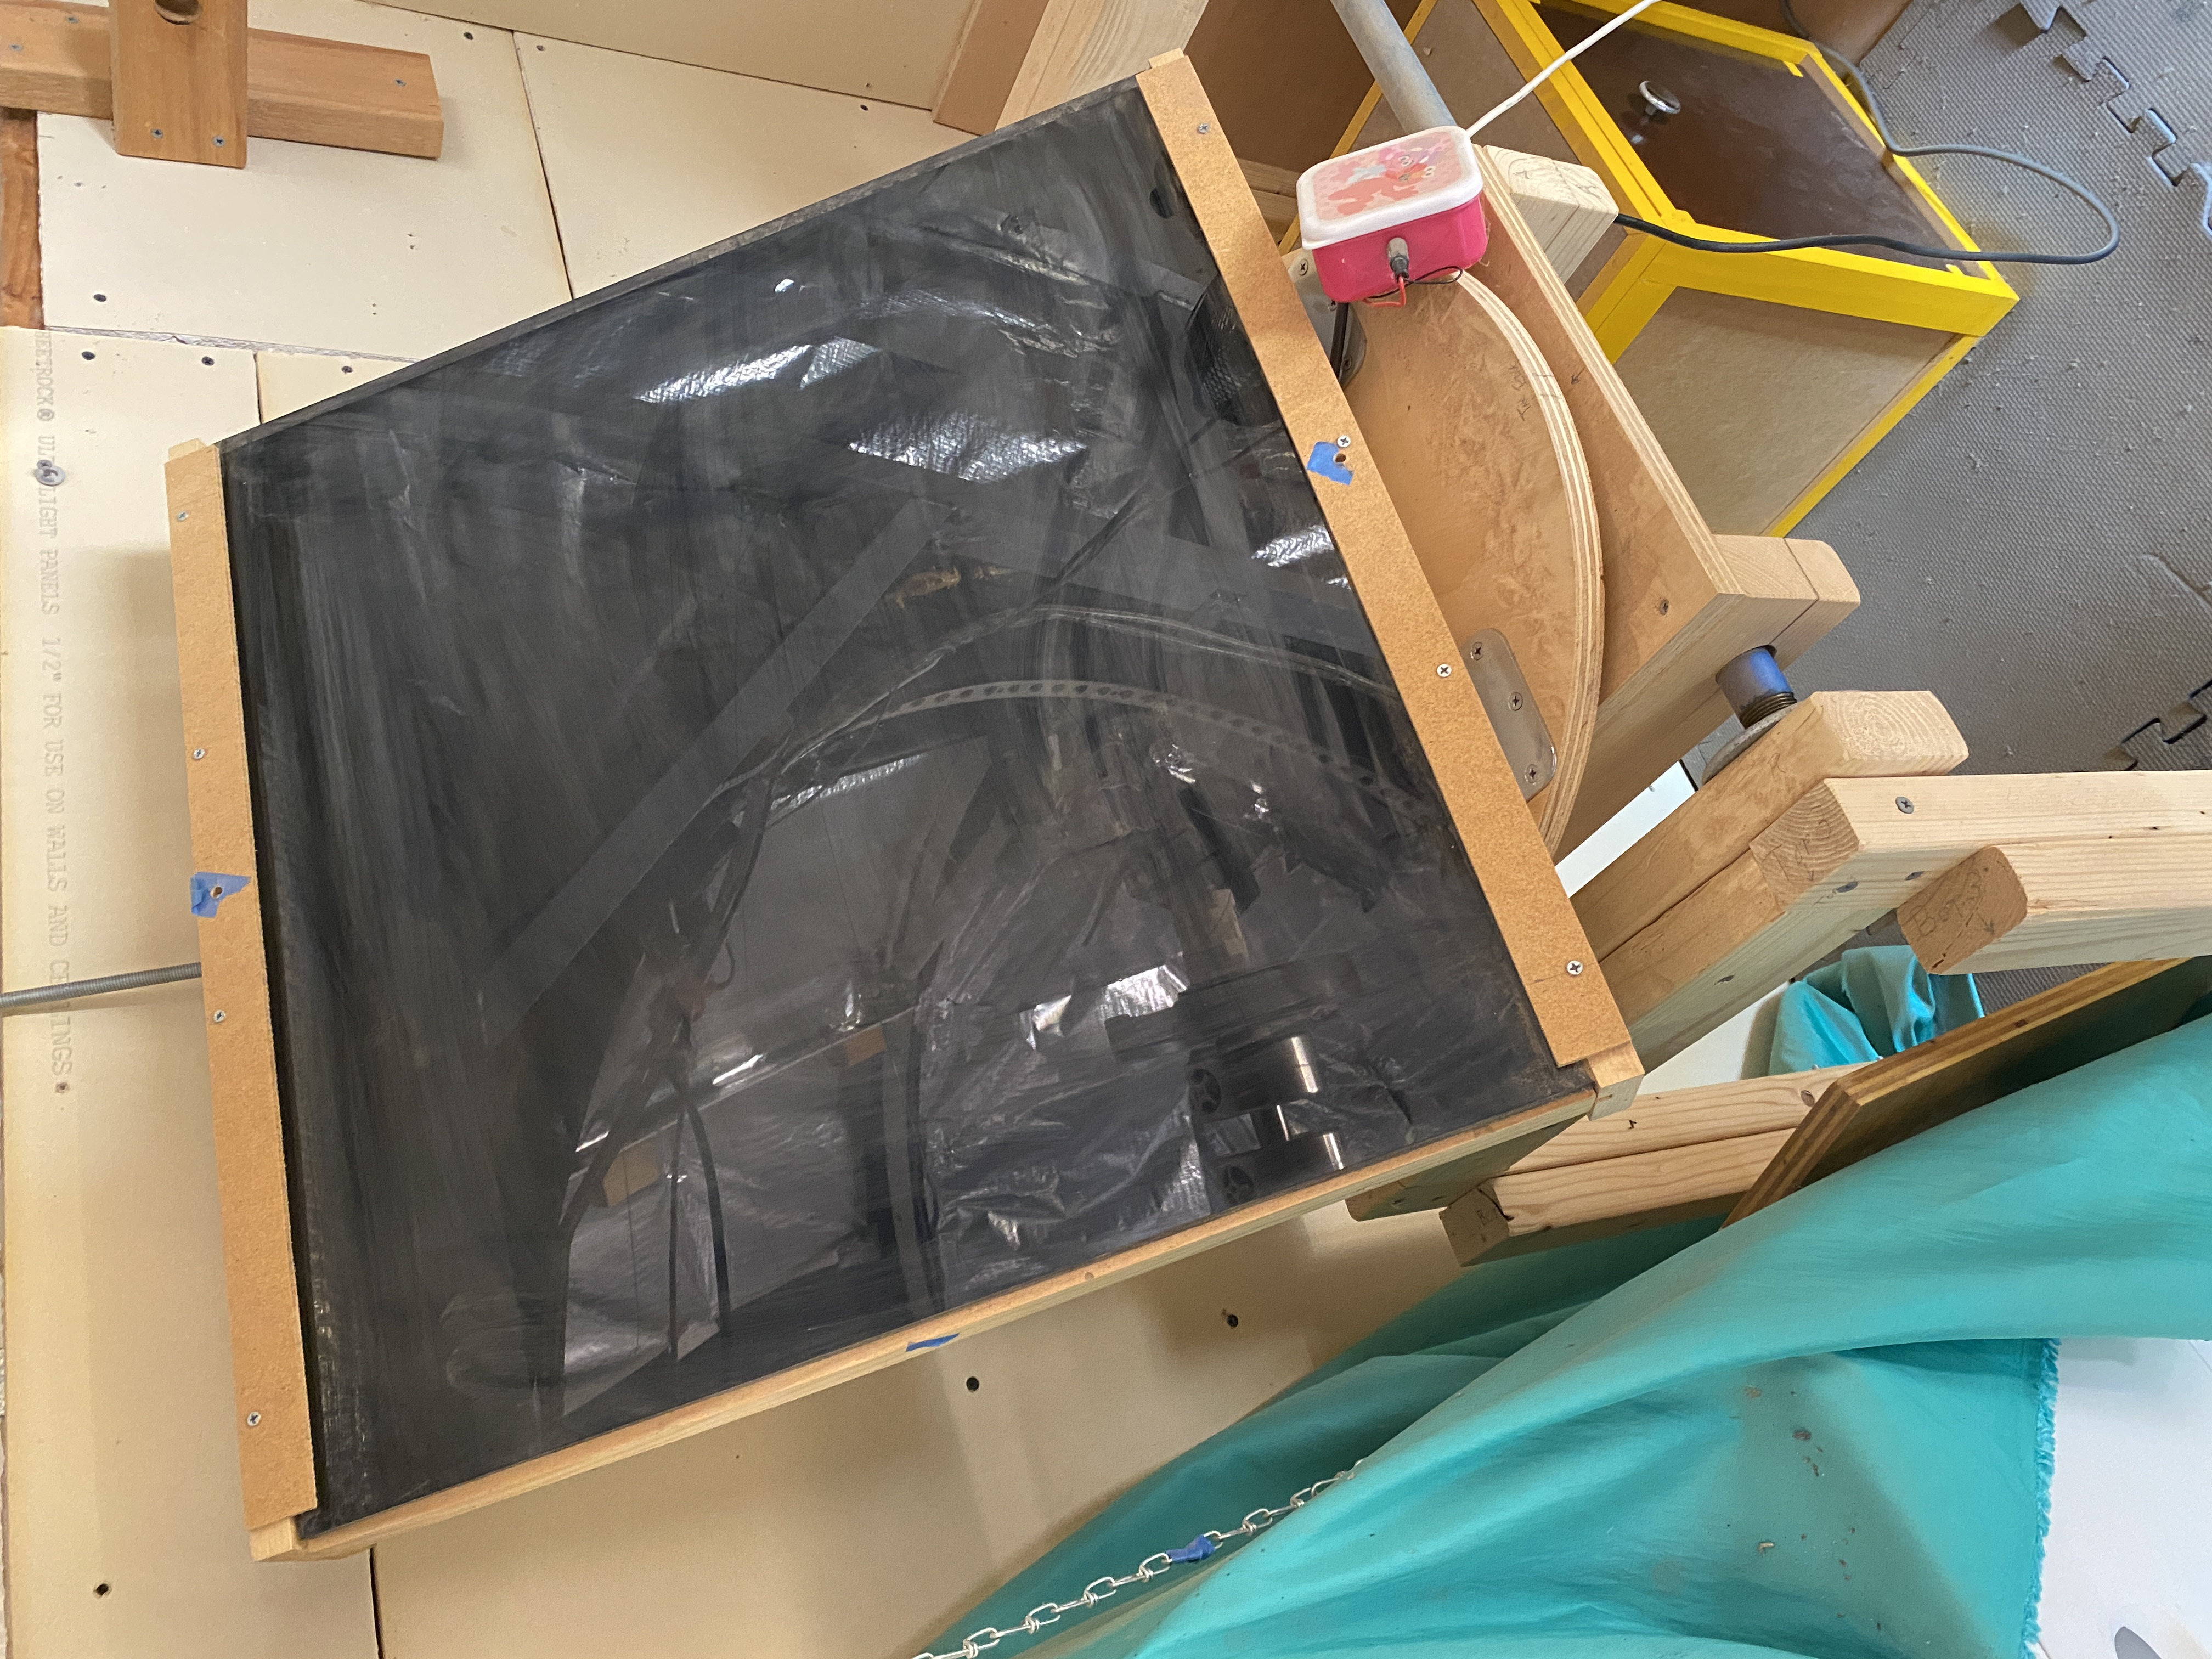
| Price (orig Cost): | $50 ($100) |
| Notes: | This is my fifth attempt at building a Light Panel to automate taking calibration bias and per-filter flat images. This one actually works pretty well. It is built around a 2 foot by 2 foot industrial LED lighting panel intended for ceilings of office buildings (like fluorescent light fixtures). The intensity of the light can be controlled by a resistor (a dimmer switch). The small pink box contains an Arduino and digital resistors (included). The Arduino connects to the computer via USB. The panel is mounted on a table fixture allowing adjustment in 3 axes to get it perpendicular to the OTA. This is important - the OTA needs to be perpendicular to the light panel, or you get off center frames. In a small dome you can't just hang the panel on the wall and be positioned appropriately relative to the telescope. The LED panel is very bright even at low settings. Two translucent 1/4" acryllic panels slide into the frame to dim it further. One or both panels can be removed as needed. I wrote a (VB.NET) software utility to determine the correct resistor setting and exposure for each filter (LRGB and narrowband) with about a 3 second camera exposure. Once these settings are determined they are re-used for each calibration run. Since I run ACP, these settings are easy to put into the ACP calibration script. The closed dome is dark enough that frames can be shot during the day, even on Arizona-bright days. I wrote a script to run calibrations during the day rather than waste darkness hours. Depending on the night's target, I typically run 25 bias and 25 of each filter needed for the night. I might need both 1x1 and 2x2 binning, so potentially I need 1600 frames although typically a few hundred. This takes 30-60 minutes. A PixInsight script assembles the individual frames into master frames for use that evening. |
LED Light Table
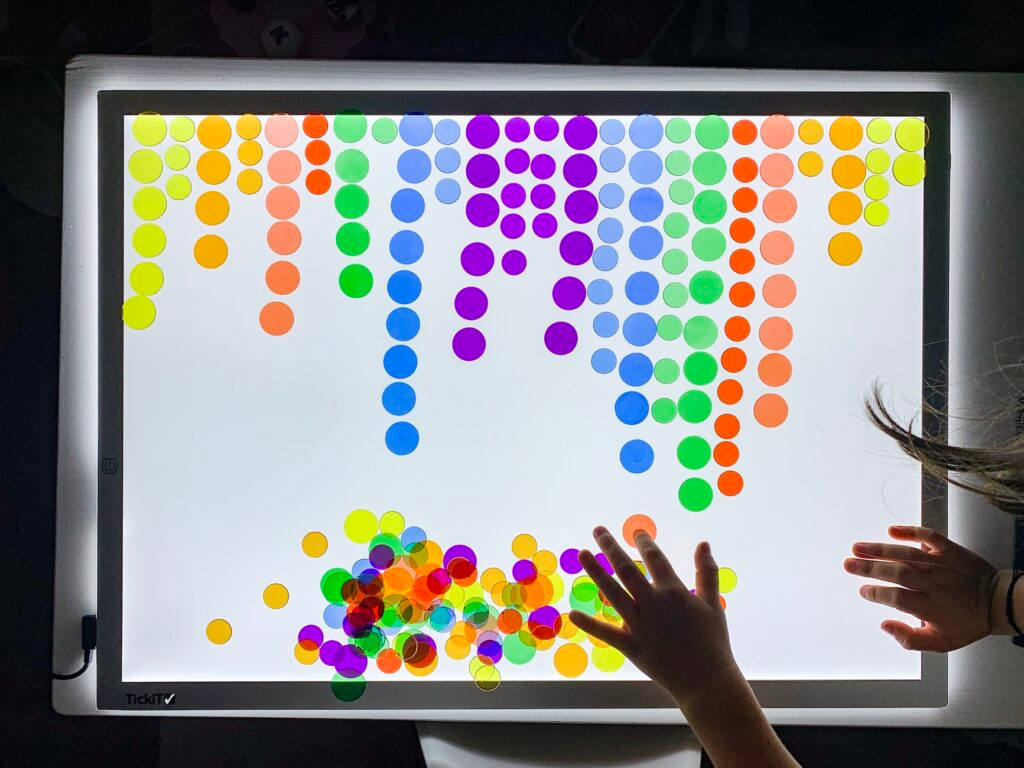
| Price (orig Cost): | $10 ($150) |
| Notes: | I originally bought this for one of my earlier attempts for a light panel for exposing calibration images (like the Light Panel above). It didn't work - it is too bright and not controllable from the computer. In addition, it runs the screen by scanning down the LEDs by row, so an exposure shows the panel partially lit depending on where you caught the scanning process. It is intended to be used as a children's toy, and to do tracing work. Includes power cable. |
DLI Internet Power Controller
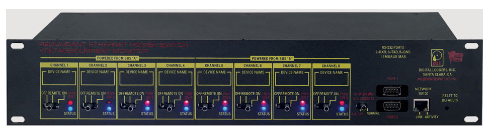


| Price (orig Cost): | $150 ($500) |
| Notes: | OK, you need one of these. This lets you power up/down equipment from ANYWHERE on the Internet. There are 16 switchable standard outlets in the back of the unit, 8 banks of 2 outlets (second image). Each bank is switchable; for example, perhaps you have a camera and its focuser plugged into one bank. A single command will turn on both devices. The unit has an ethernet port in front which attaches to your local network (first image). It also has switches to manually control each bank of outlets. From a browser you access the device by its IP address (i.e., 192.168.2.100). You get the screen in the third image (there are several screens to configure the device). Now you can access all of the devices through the network. For example, I can be in Los Angeles and power everything up for the night. When I am running from the house it is easier to turn things on and off rather than running out to the observatory. The on/off commands can also be sent from your own scripts / programs. For example, an observatory startup script might power up the dome, turn on the camera and focuser, home the dome, turn off the air conditioner, and open the dome shutter. I have done this in the ACP startup and shutdown scripts. |
WiFi DAP-1552 Bridge
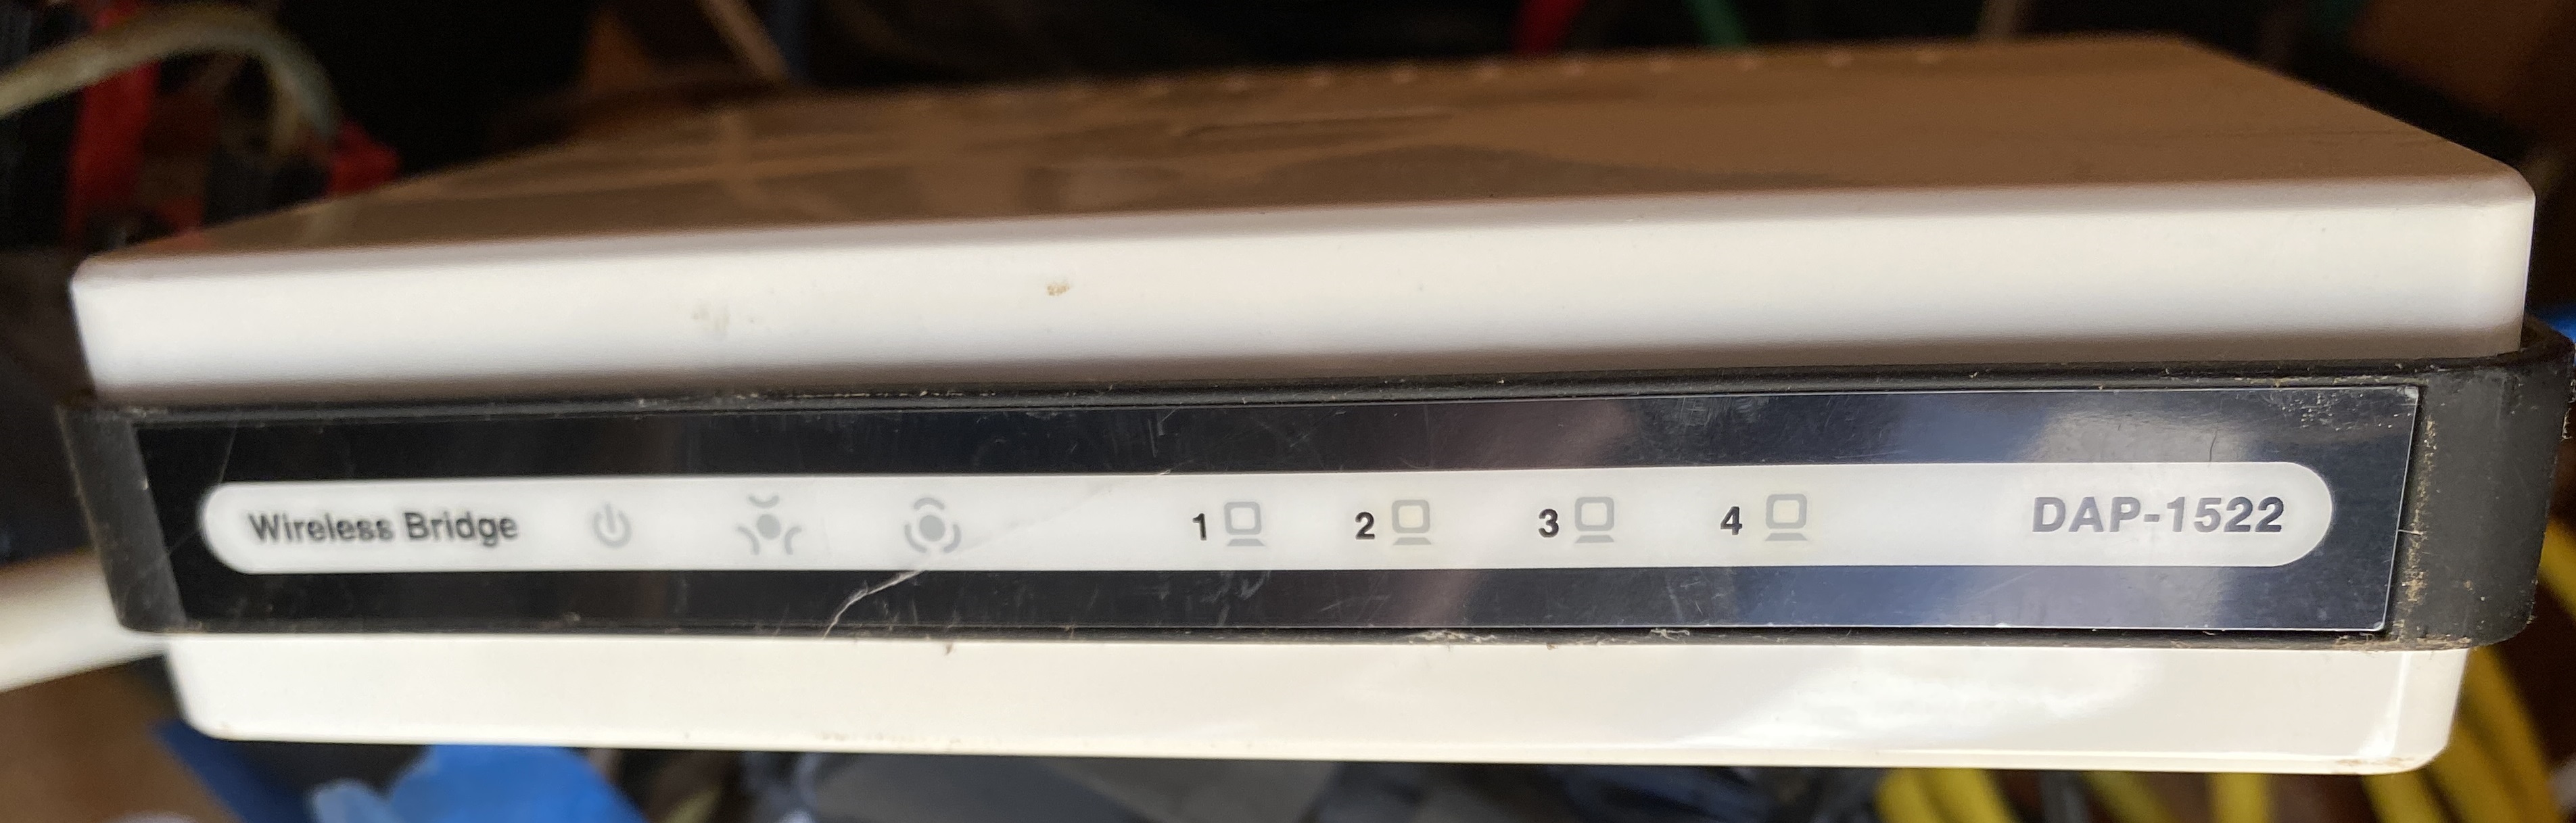
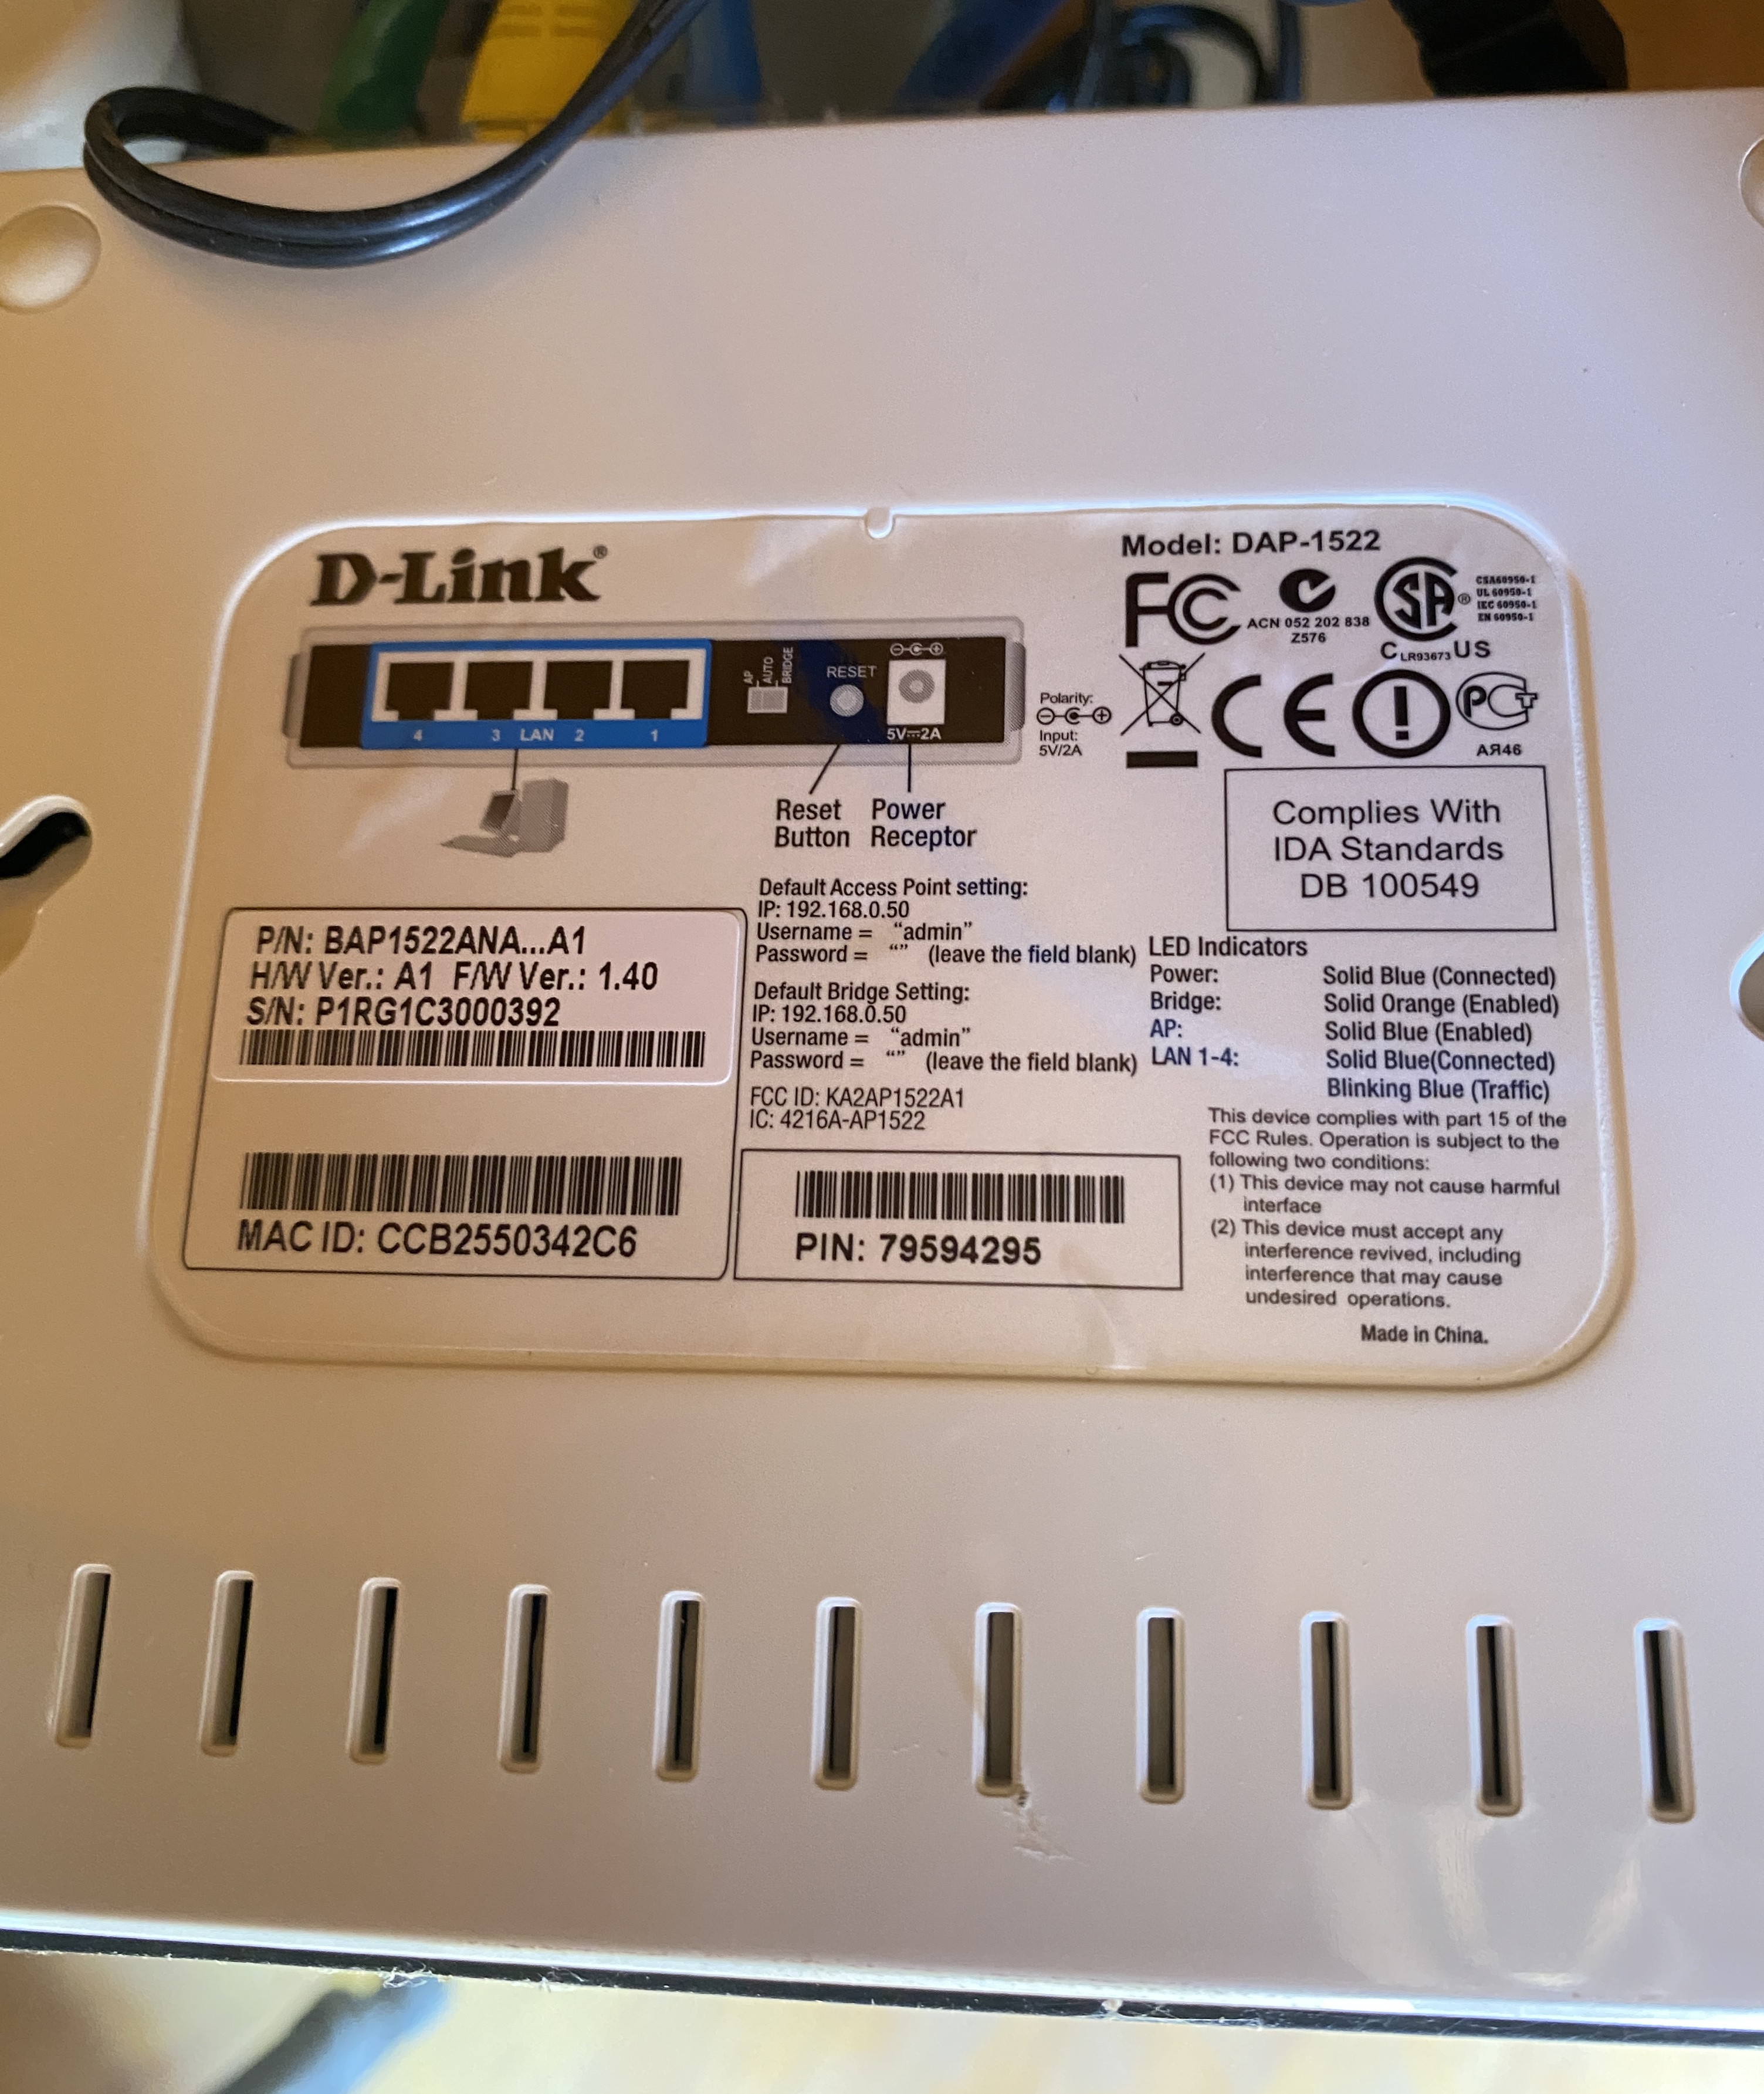
| Price (orig Cost): | $25 ($)150 |
| Notes: | My dome is perhaps 60 feet from the router in the house. This is too far to get router WiFi reception. Instead of running a cable from the house, this bridge receives the router WiFi, amplifies it, and provides 4 ethernet ports to the systems in the dome. |
Assorted Eyepieces


| Price (orig Cost): | $200 ($800) |
| Notes: | I used these years ago when I observed/imaged with a portable setup. With the automated observatory I have not needed them. Eyepieces available:
Everything above: $175. |
Televue PowerMates

| Price (orig Cost): | $150 each PowerMate and matching T-Ring ($350) |
| Notes: | I got these to test an idea for planetary imaging. The guy at the astronomy store said it wouldn't work, but I of course knew better. He was right:) |
EdgePort USB-RS232 Converter
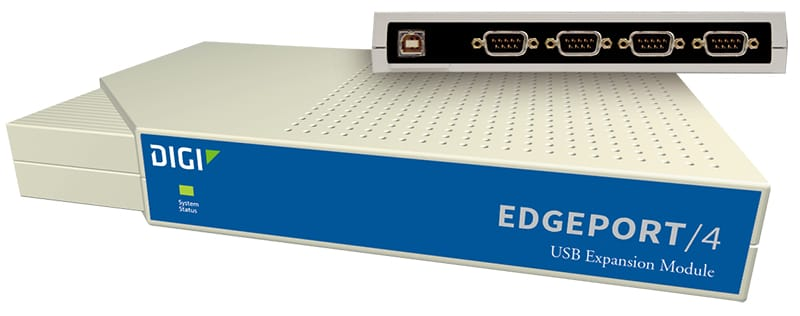
| Price (orig Cost): | $50 ($250) |
| Notes: | Some equipment (especially older things) still use RS-232 connections. This box takes a single USB port and provides 4 COM ports. |
Pyramid 12V 5 Amp Power Supply
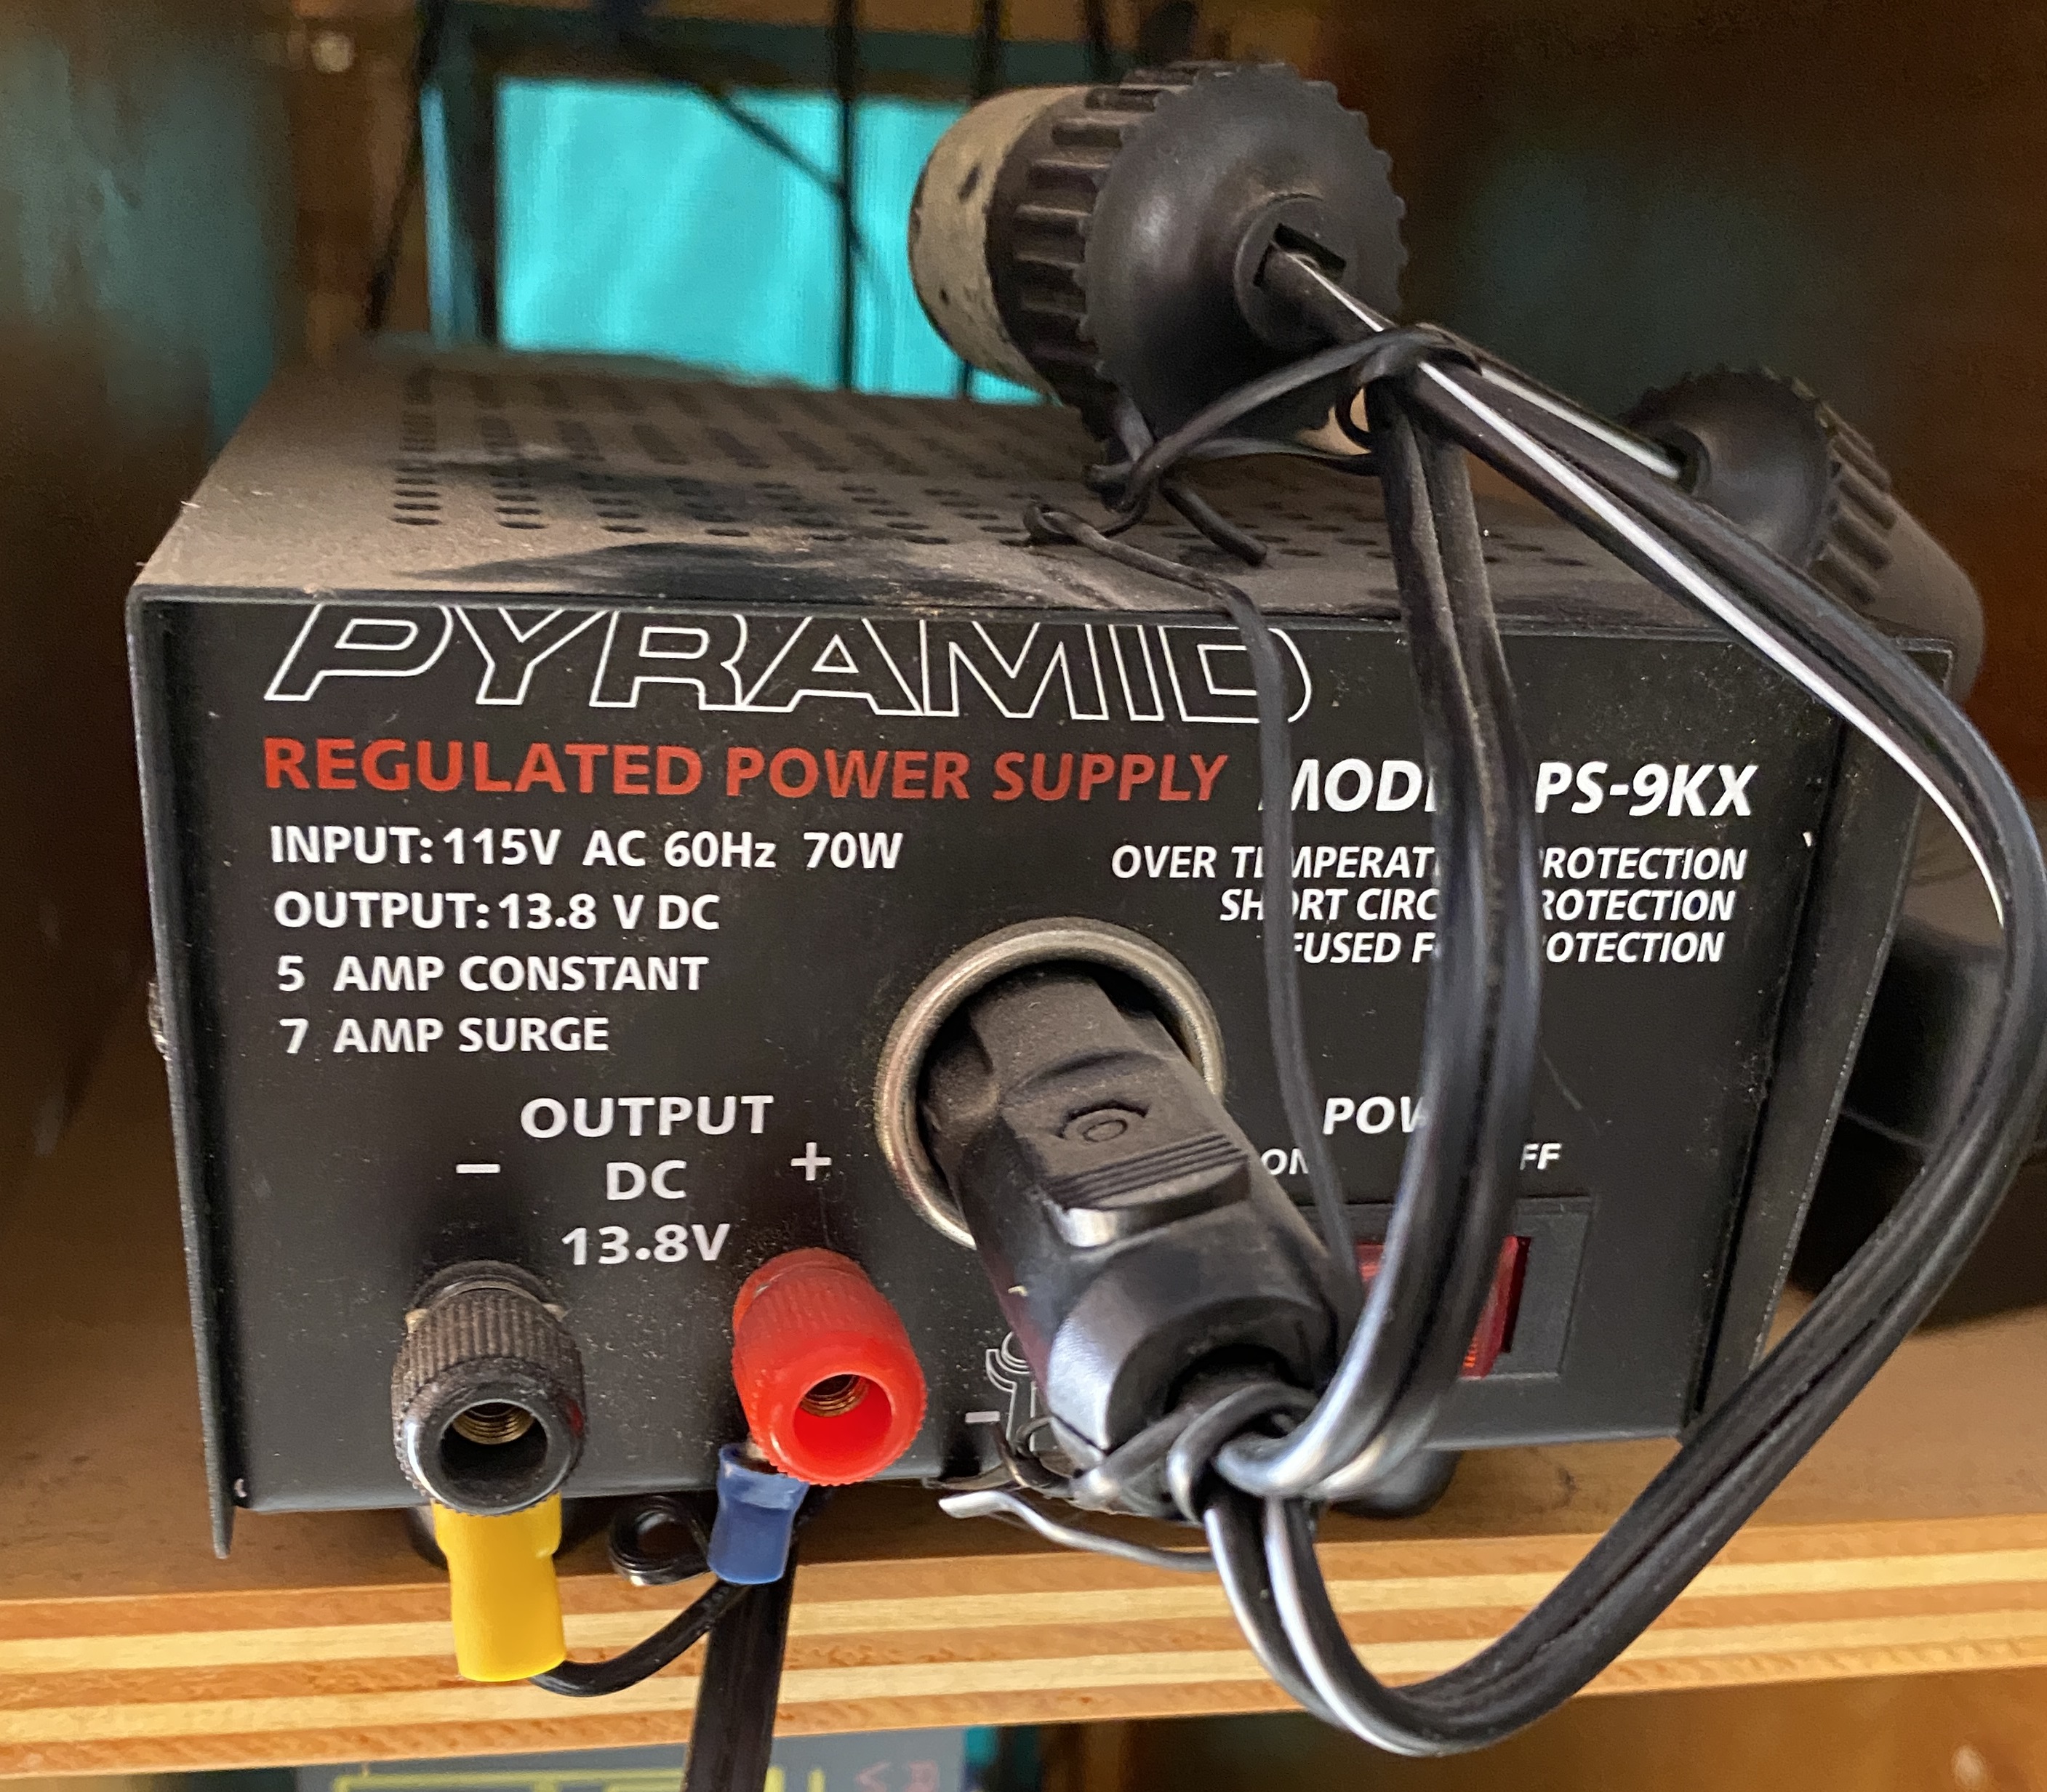
| Price (orig Cost): | $25 ($100) |
| Notes: | Typical 12V power supply. Has connector to run 2 cigarette plugs, or wire directly as seen in the image. |
Samlex 12V 30 Amp Switching Power Supply
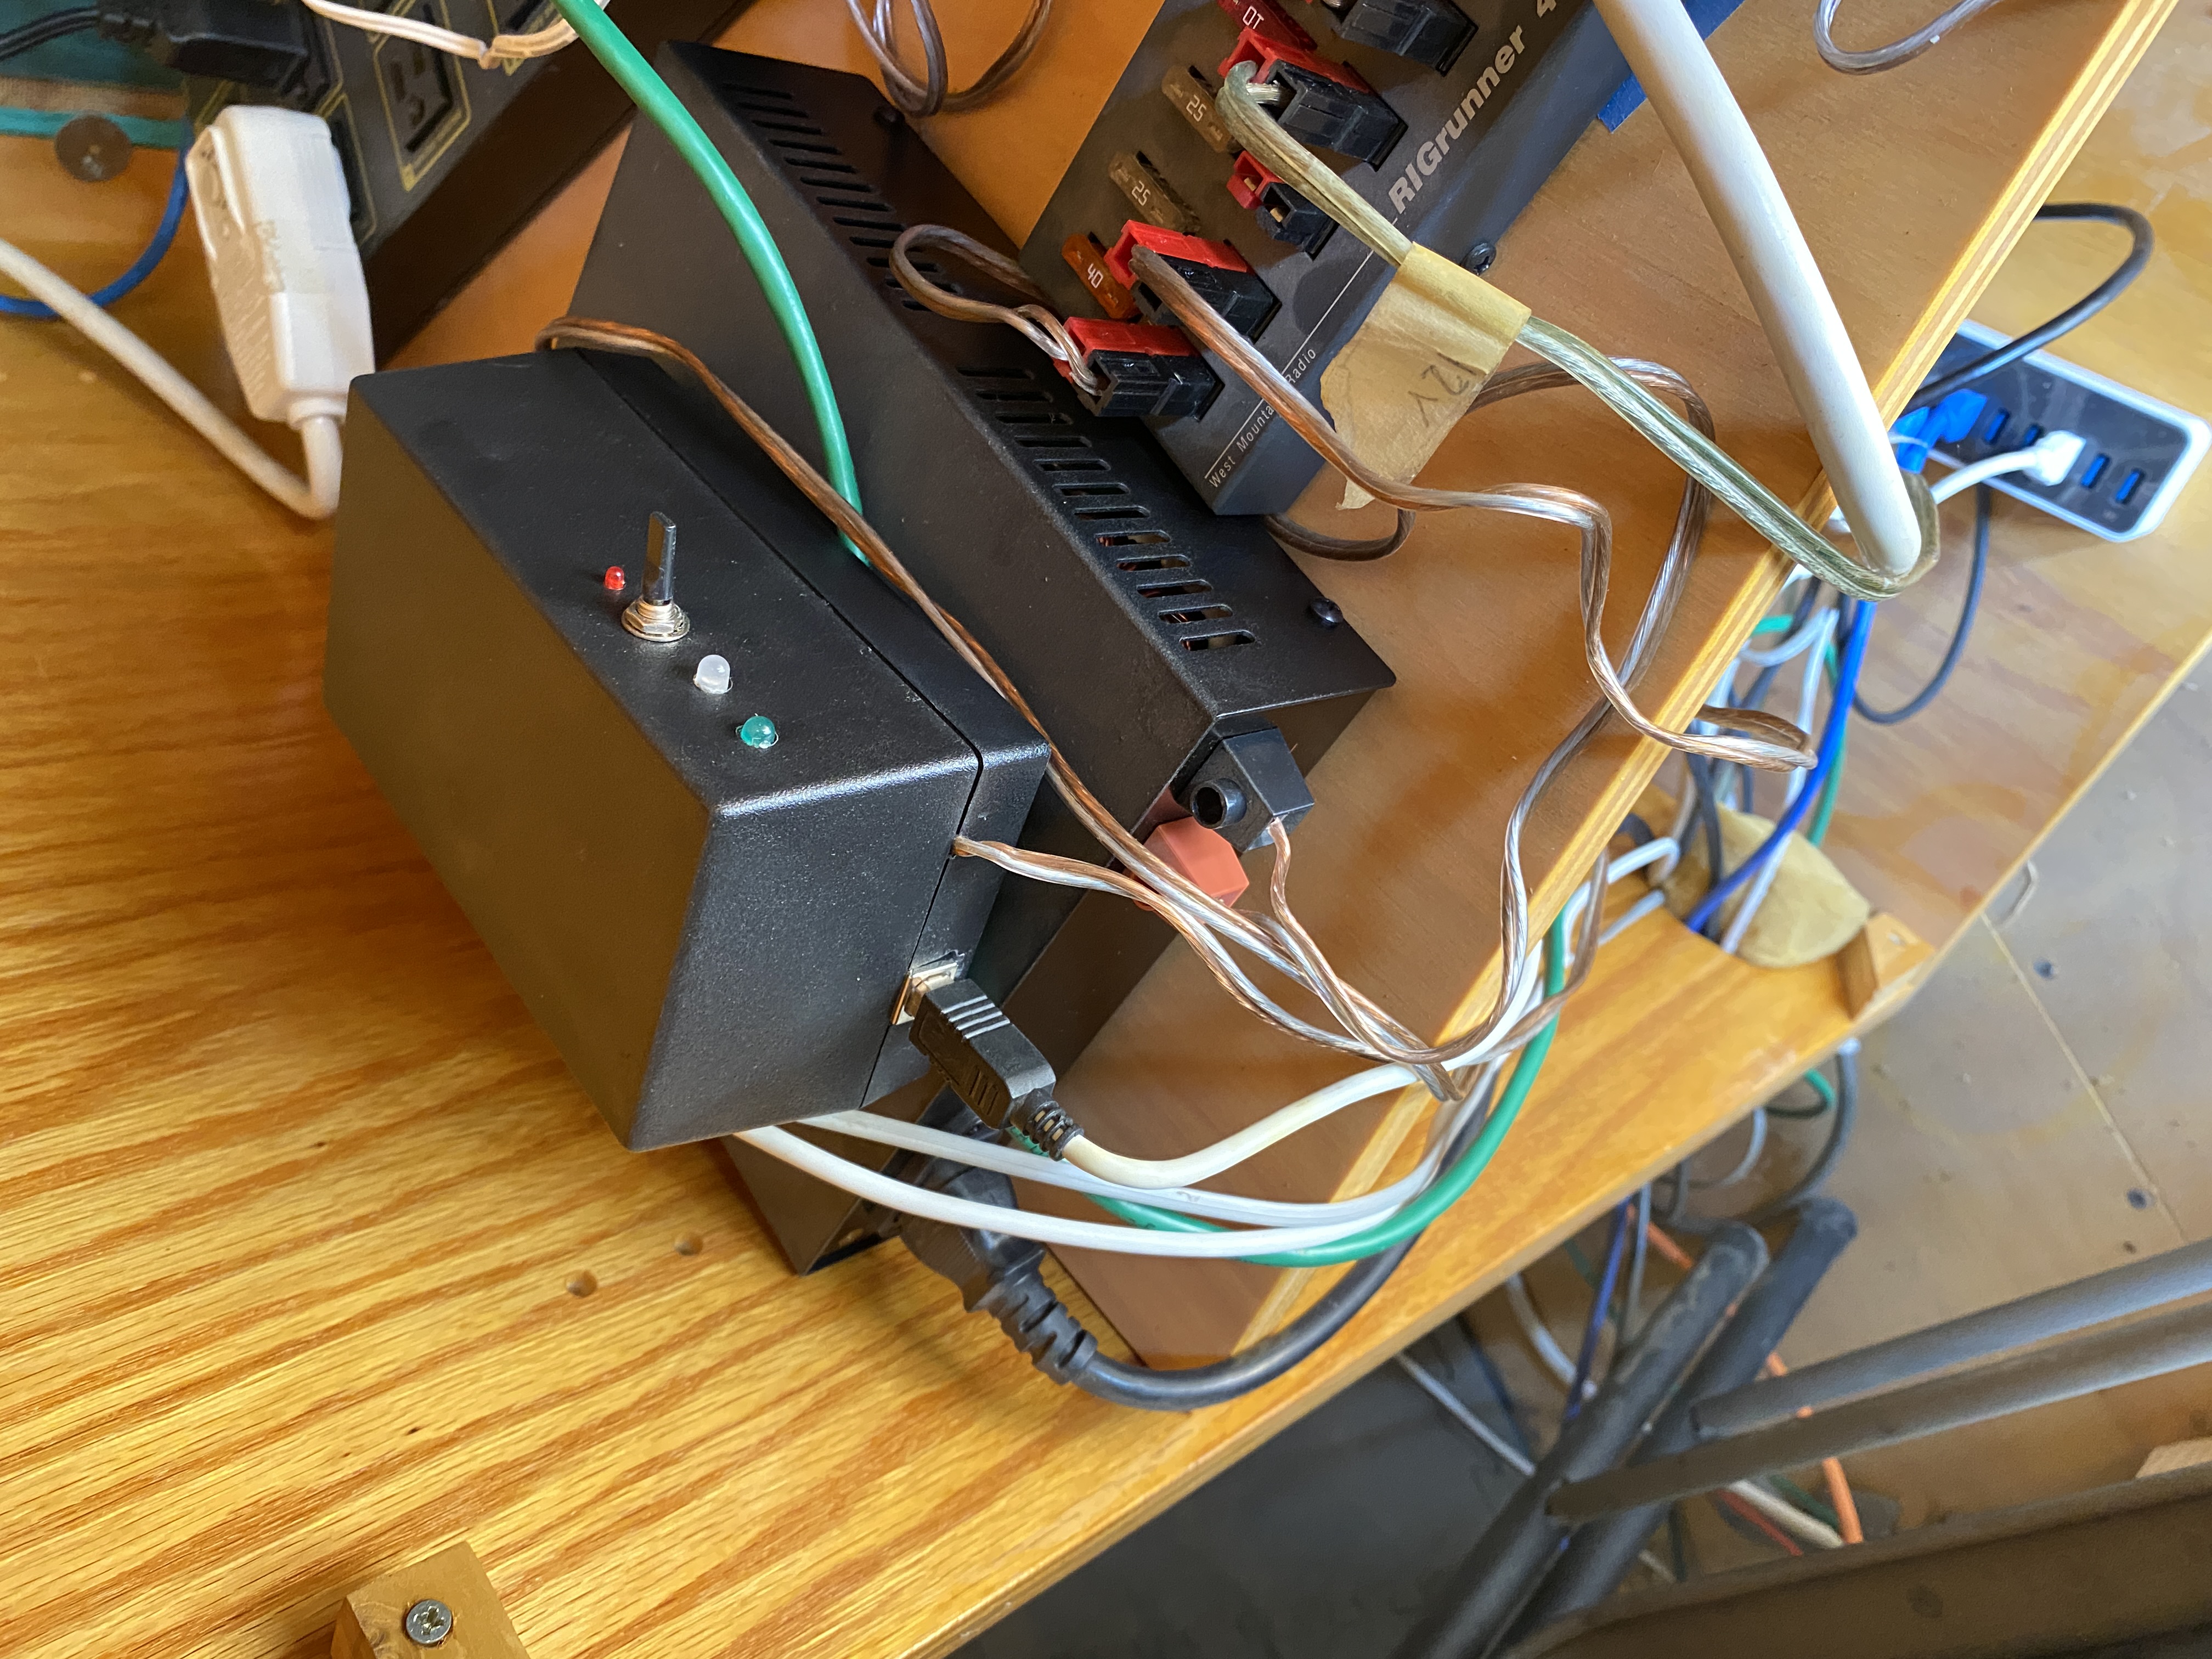
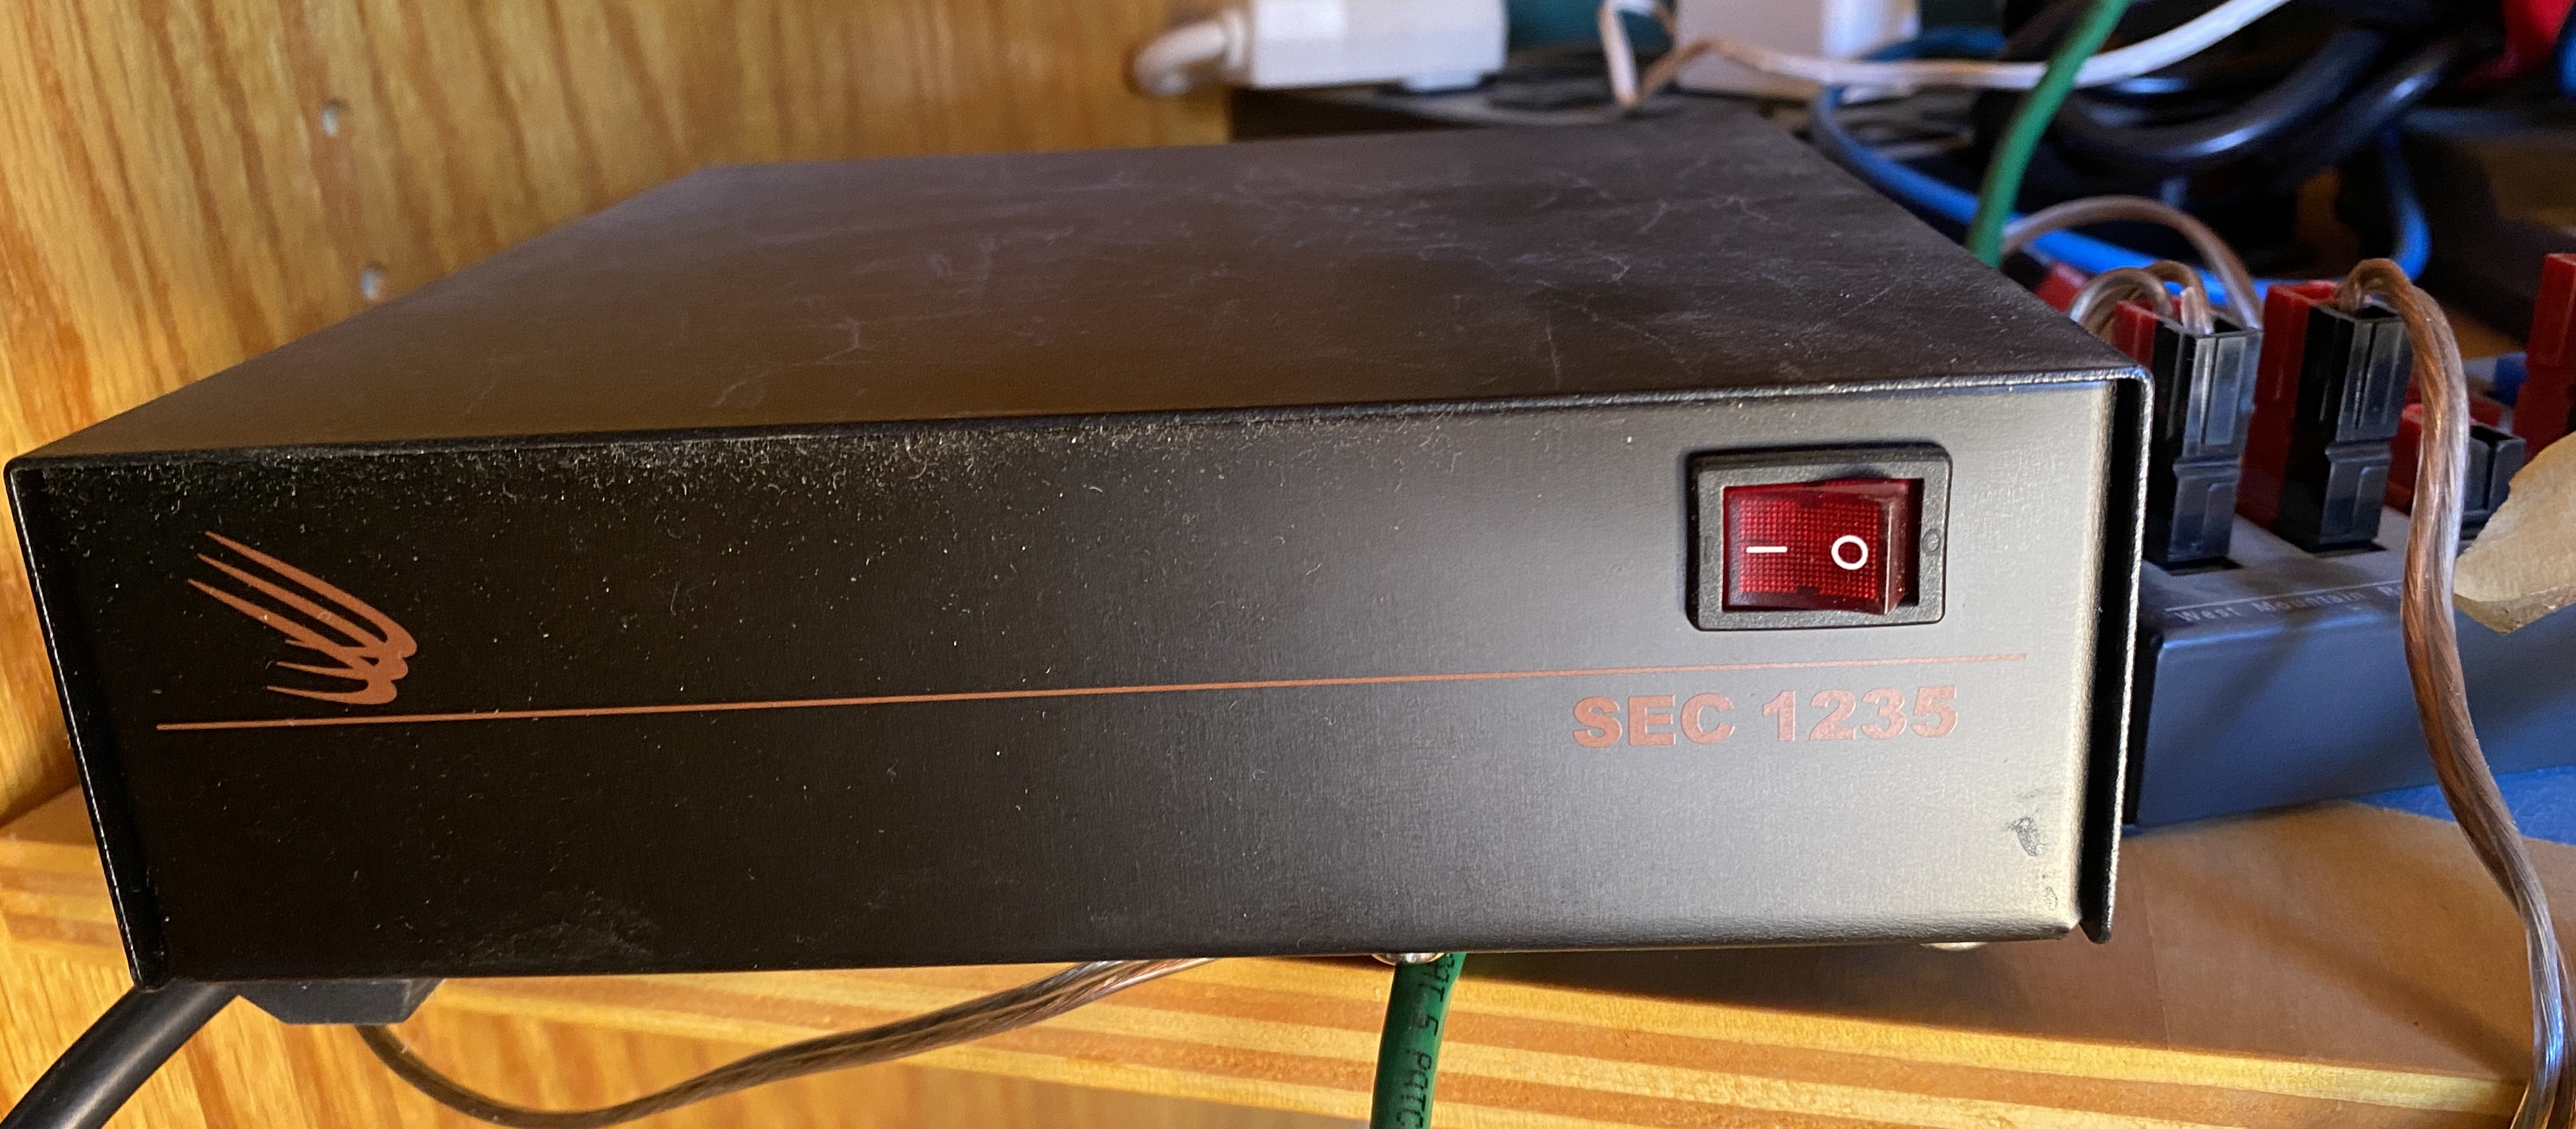
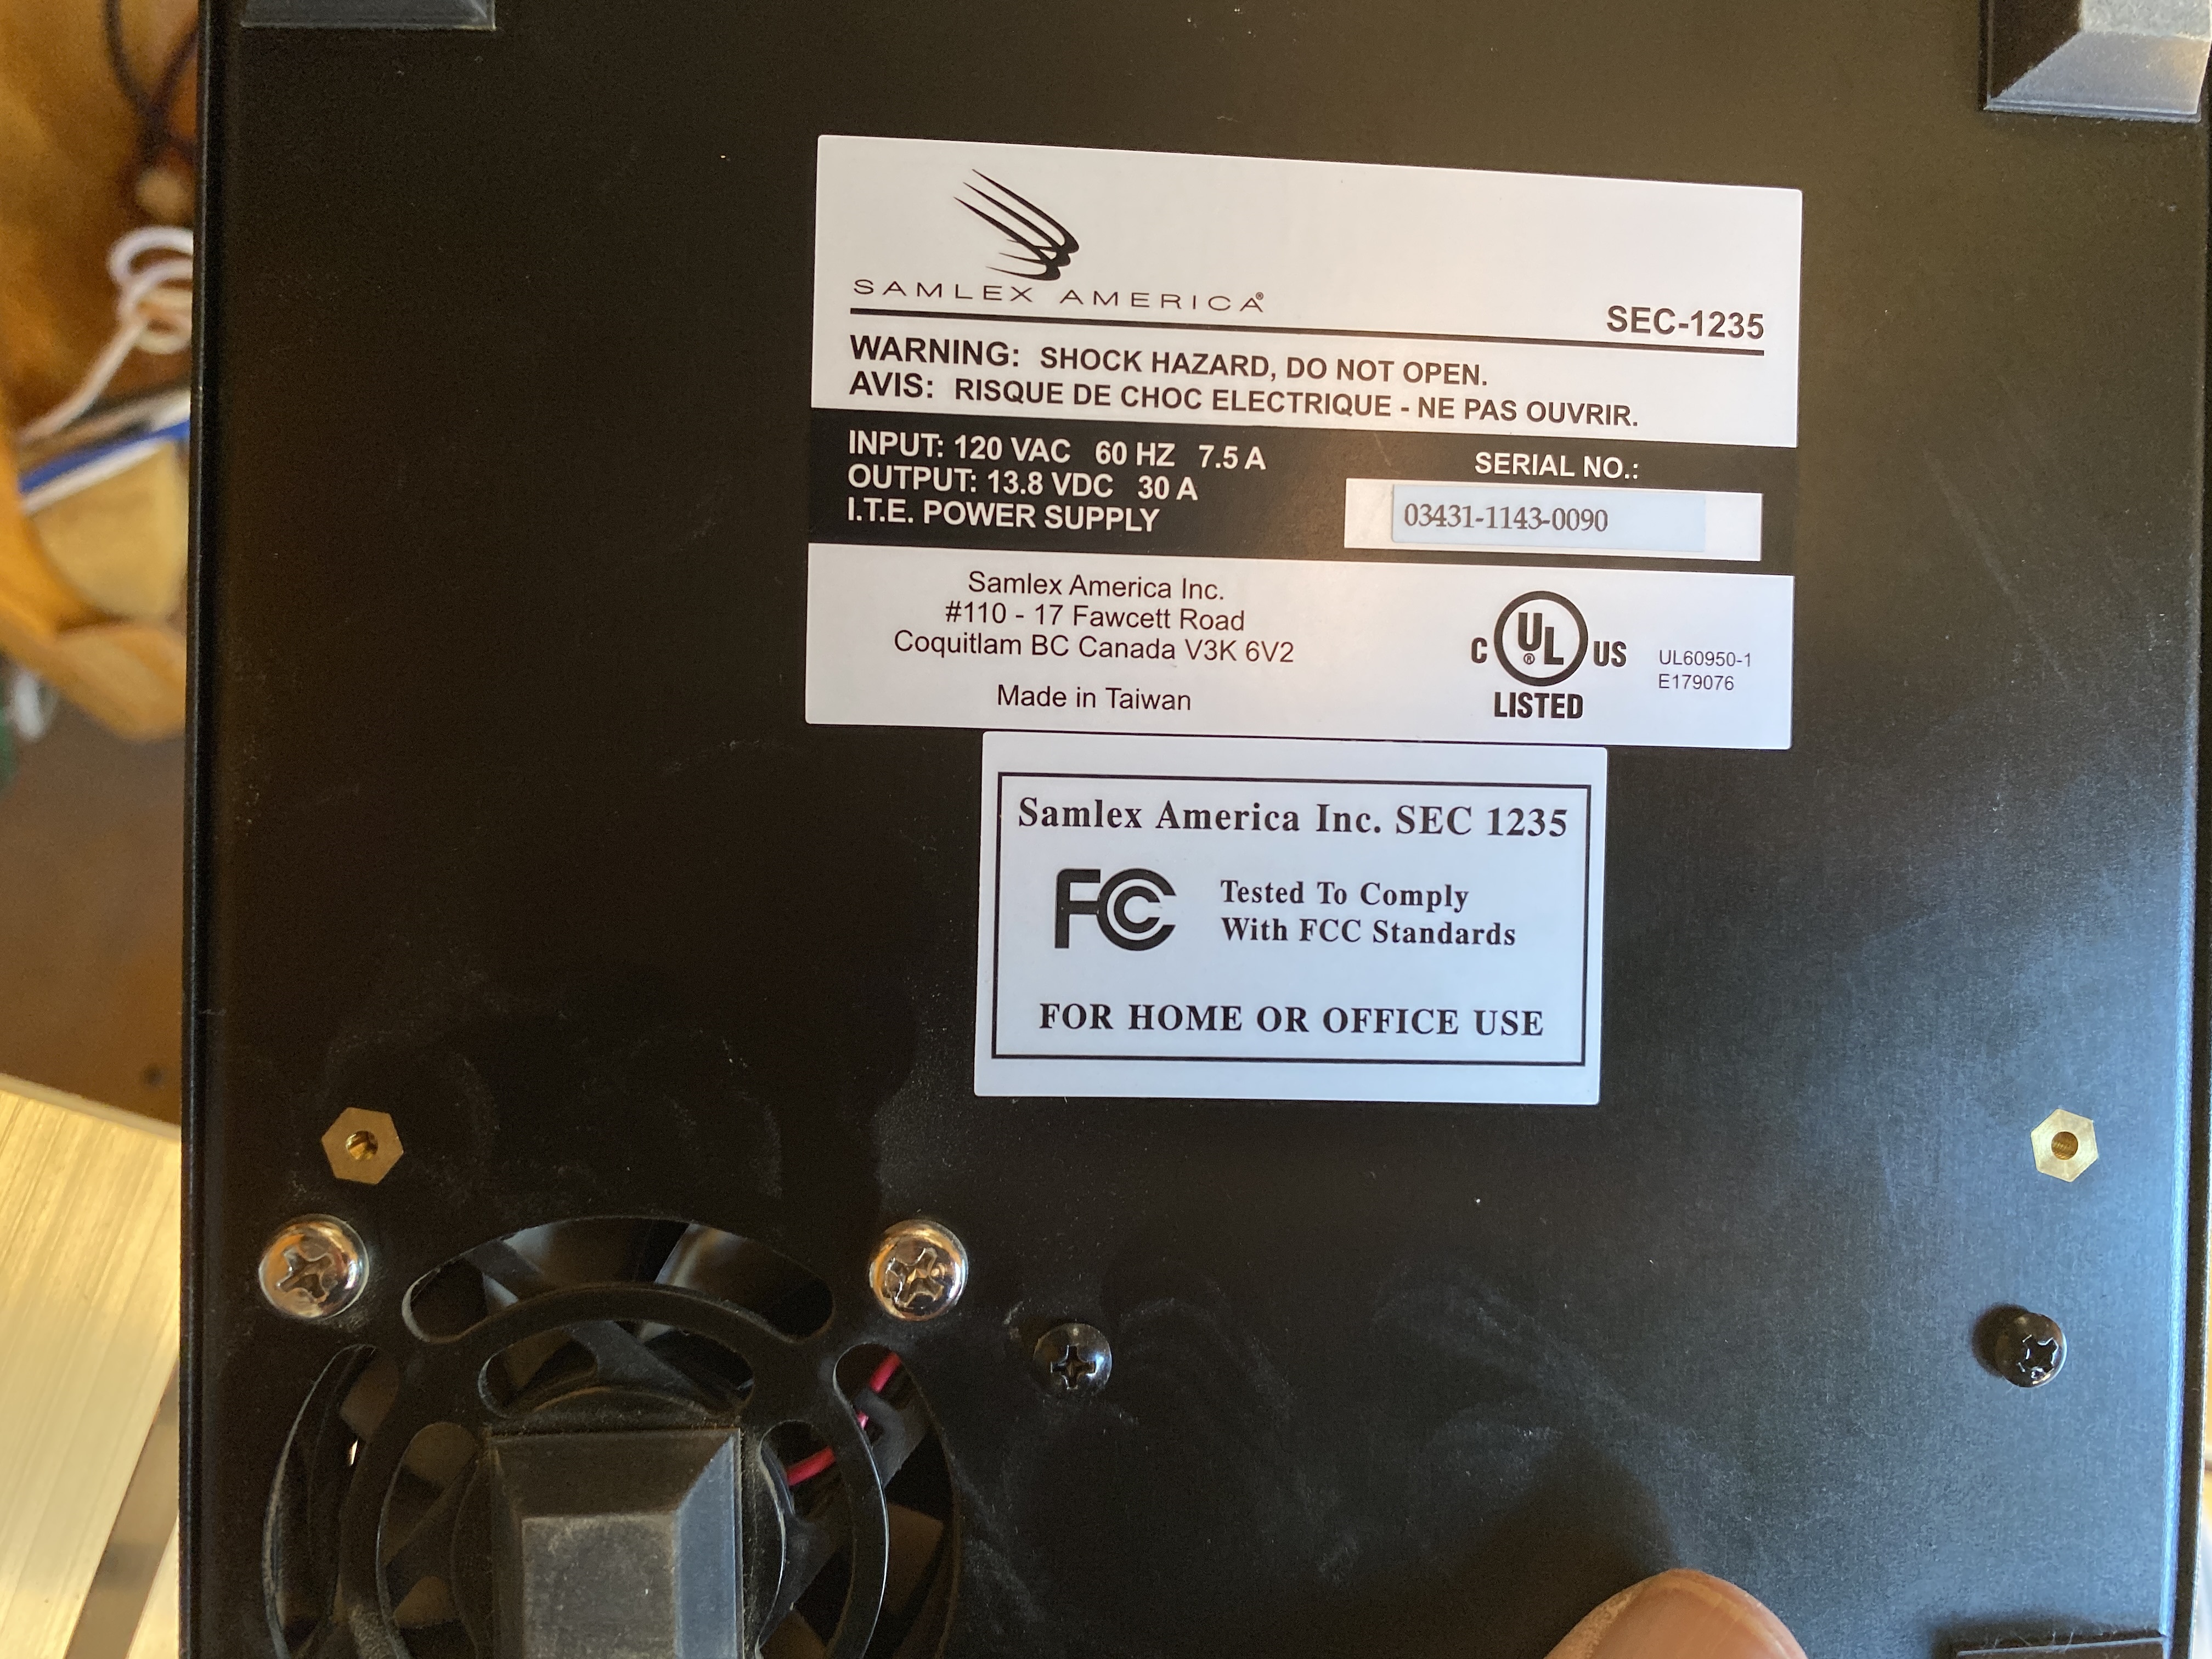
| Price (orig Cost): | $150 ($300) |
| Notes: | In the first image this is the larger black box under the dome rotation controller. This is a higher 30 Amp power supply. I run the output through a RigRunner (visible on the right of the first image) to supply power to the dome rotation motor, the dome shutter motors, and a couple of other minor things. My dome motors require 10 Amps. The RigRunner is included. |
Other things
| Image | Price | Description |
|---|---|---|
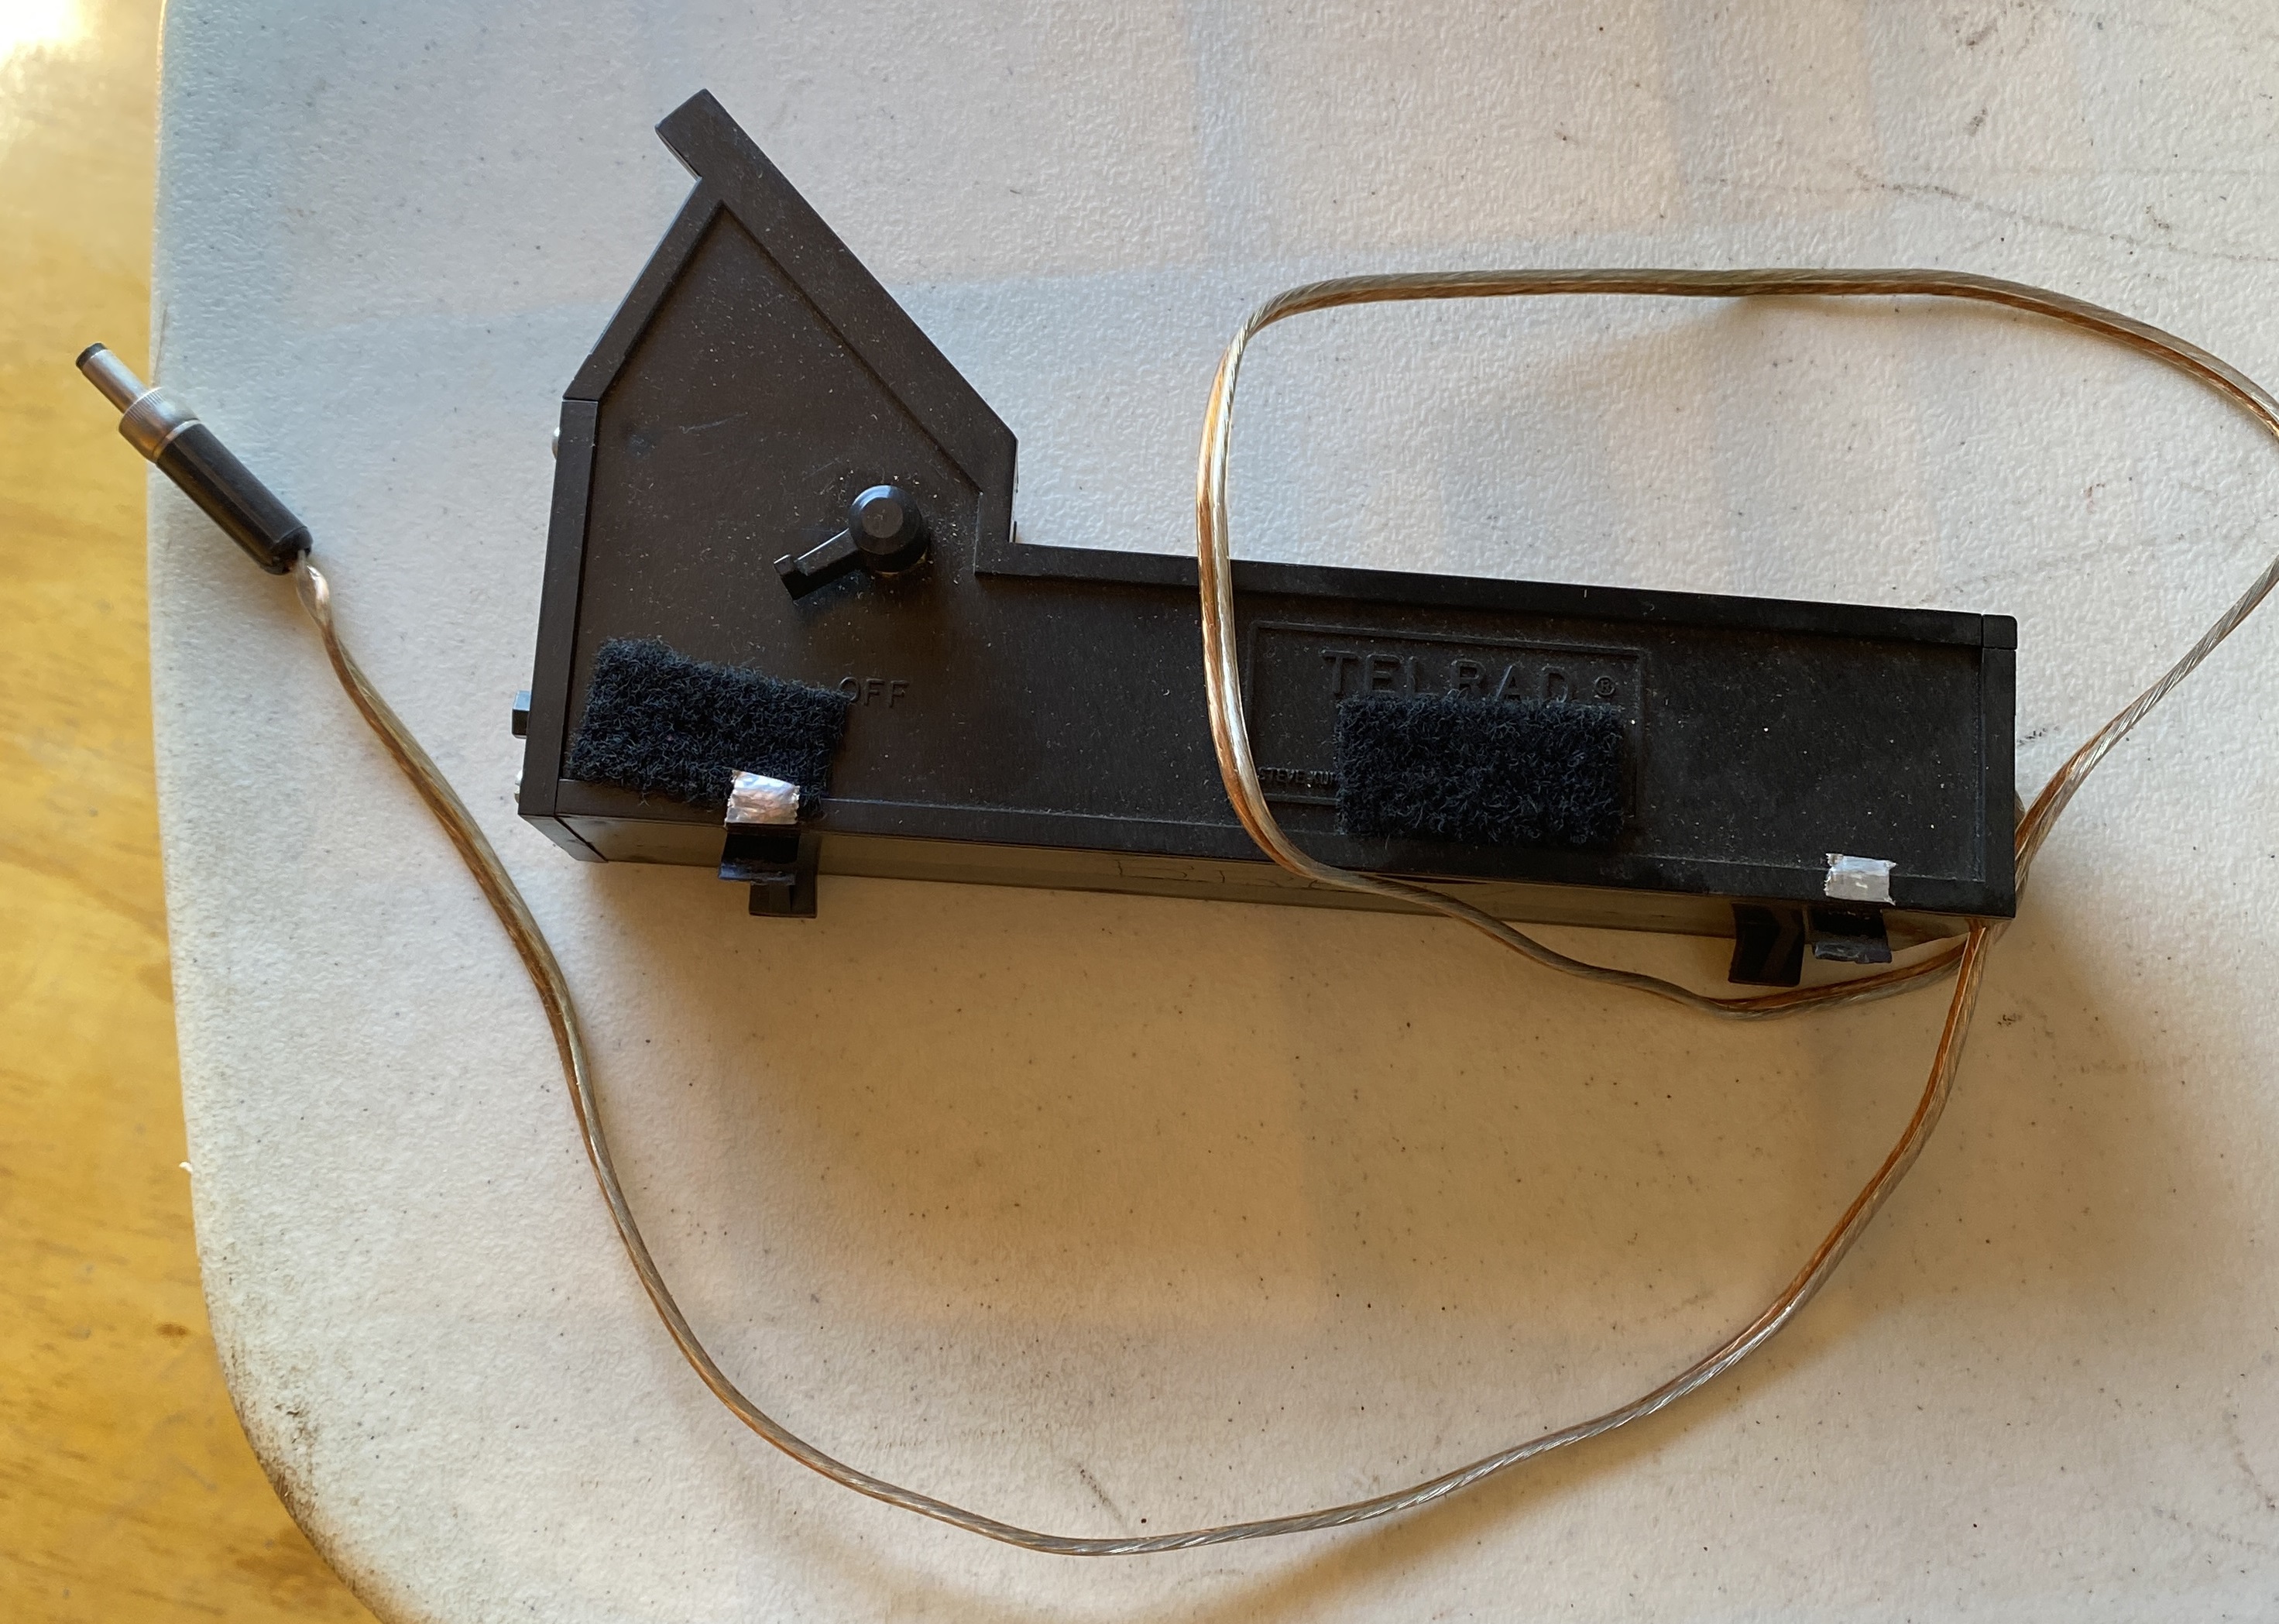 |
$20 | Telrad sight. I modified this so the Telrad can be powered from a 12V supply. I think it can still run off of battery. No mounting base. |
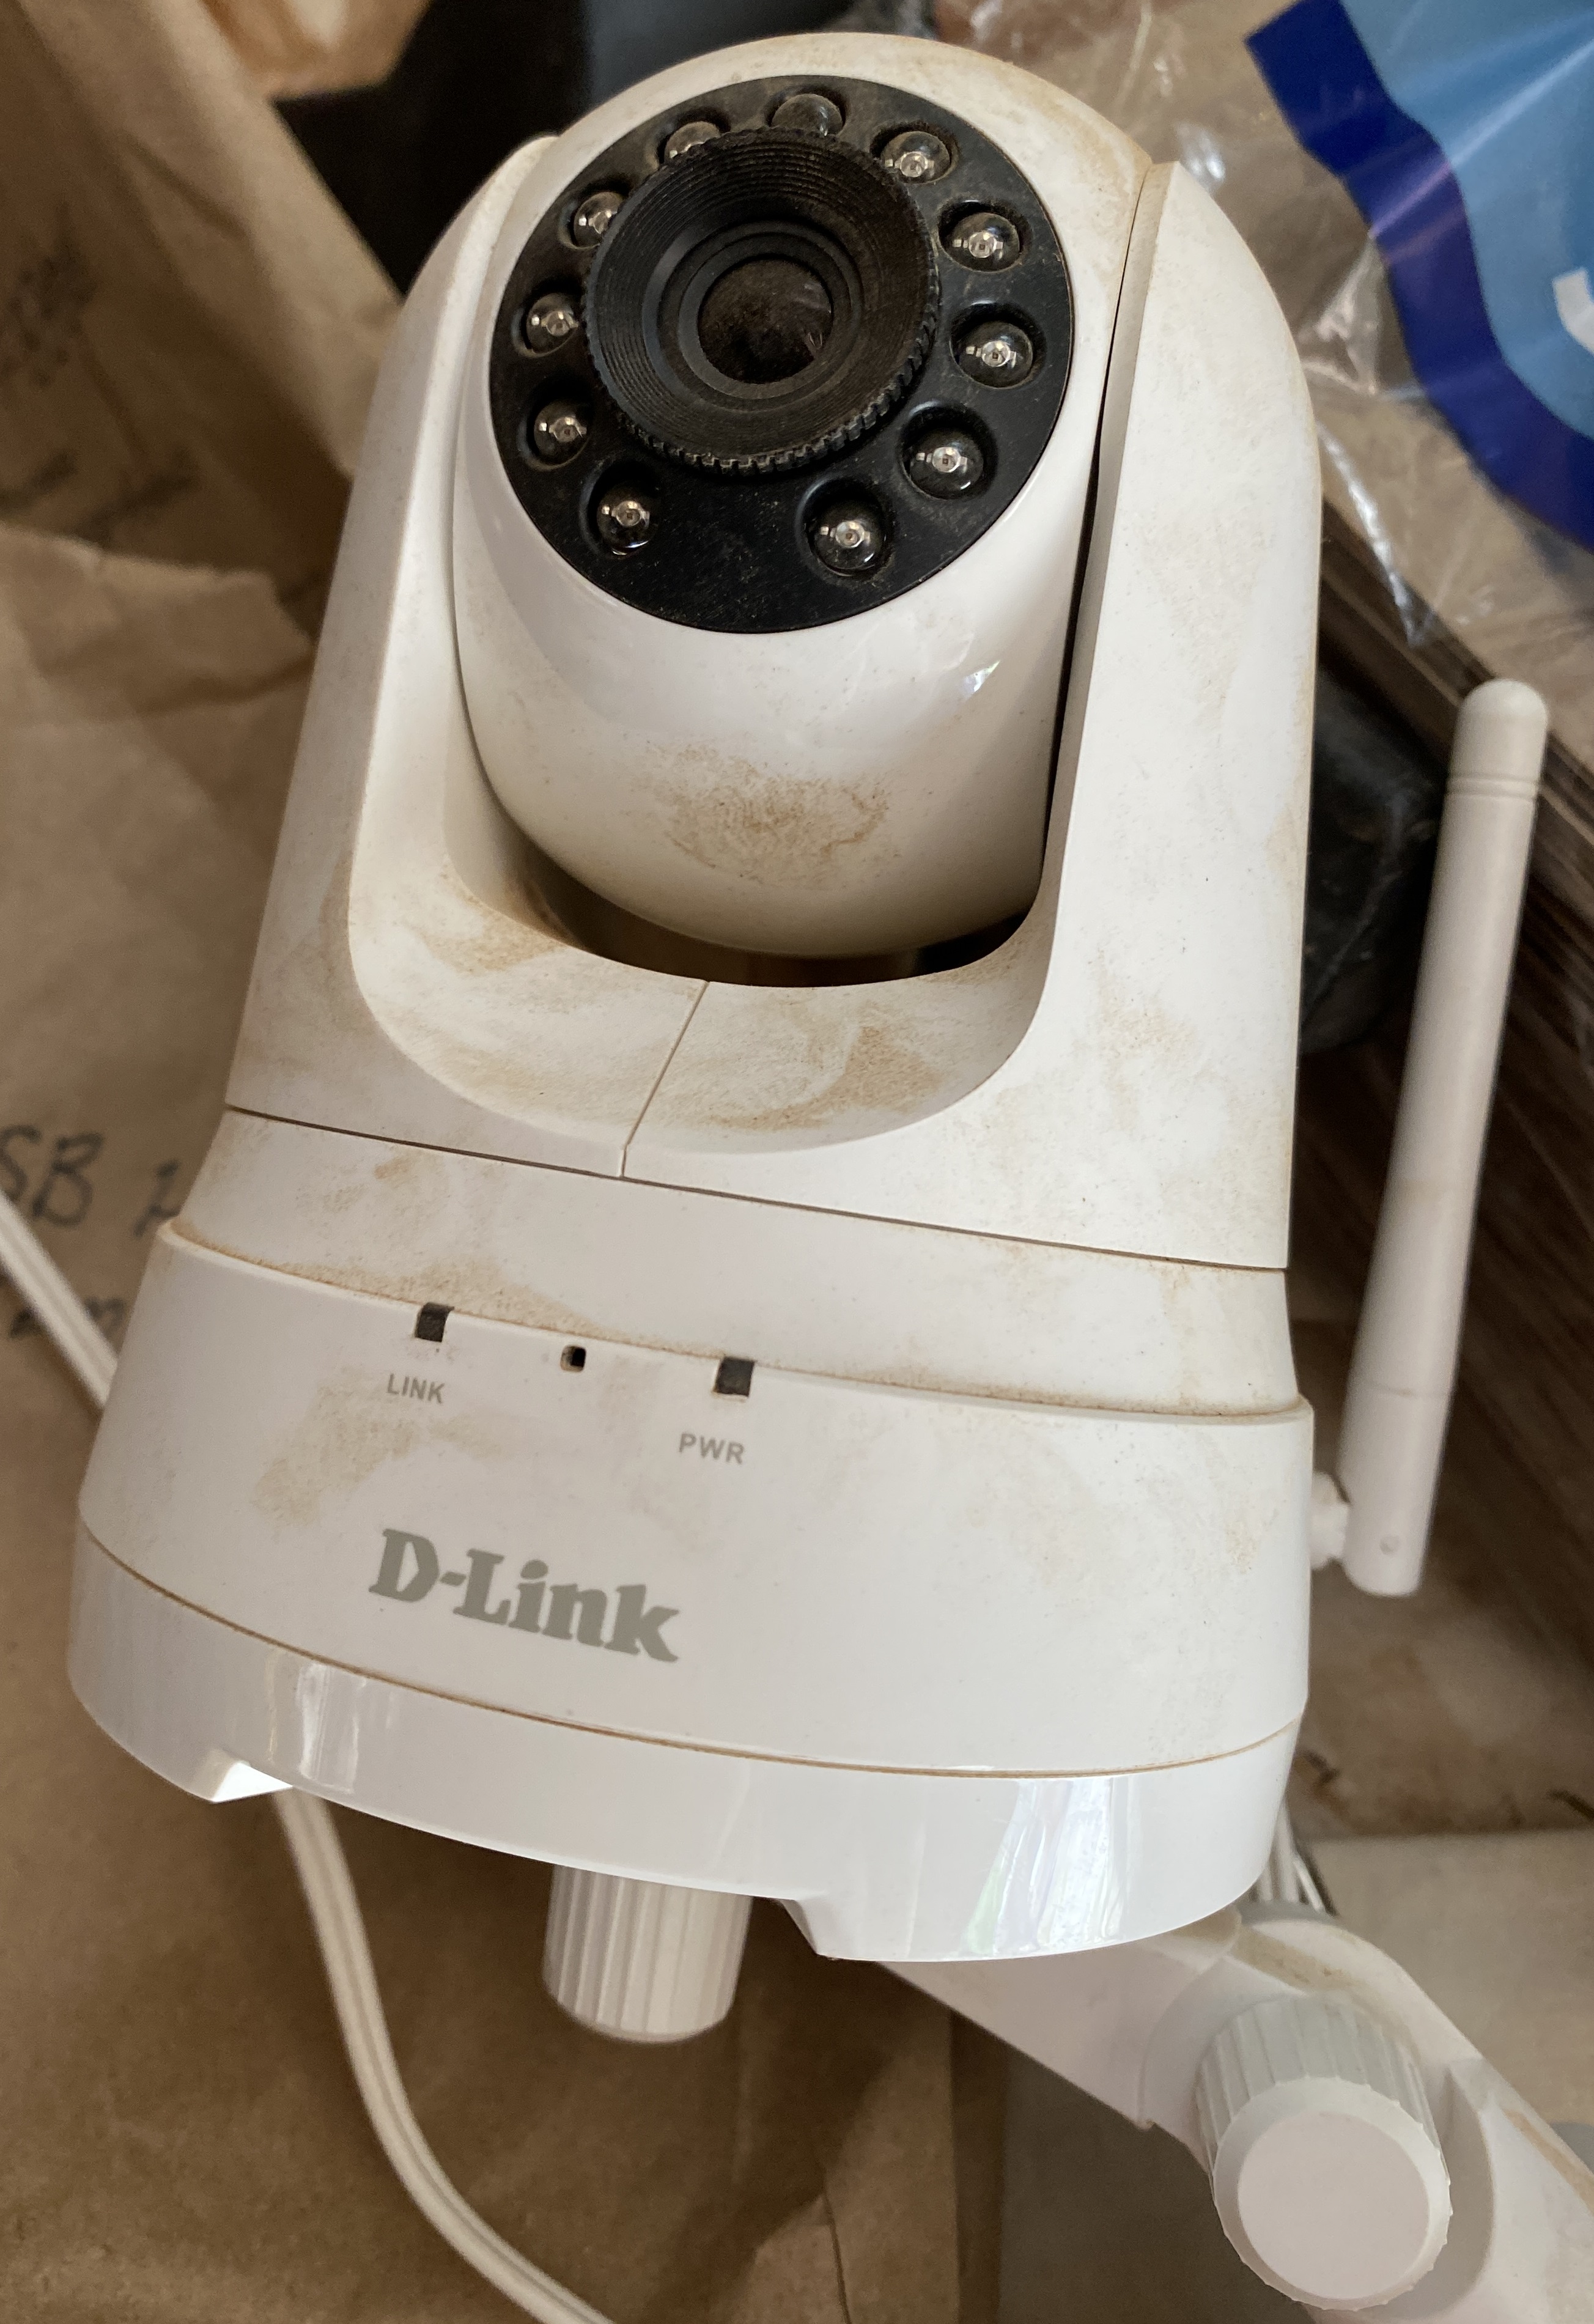 |
$20 | Pan/Zoom/Tilt Internet Camera. Very useful if you run remotely. When things seem to be wonky it really helps to be able to see what is happening. The pan/tilt/zoom is great. It is better to have 2 cameras, one for looking around the observatory and one zoomed in on the screen. Note - I don't run this while imaging - it uses IR leds to see, so this might mess up the imaging. |
 |
$20 | Orion 2 inch Diagonal. I used this back when I was doing visual observing. |
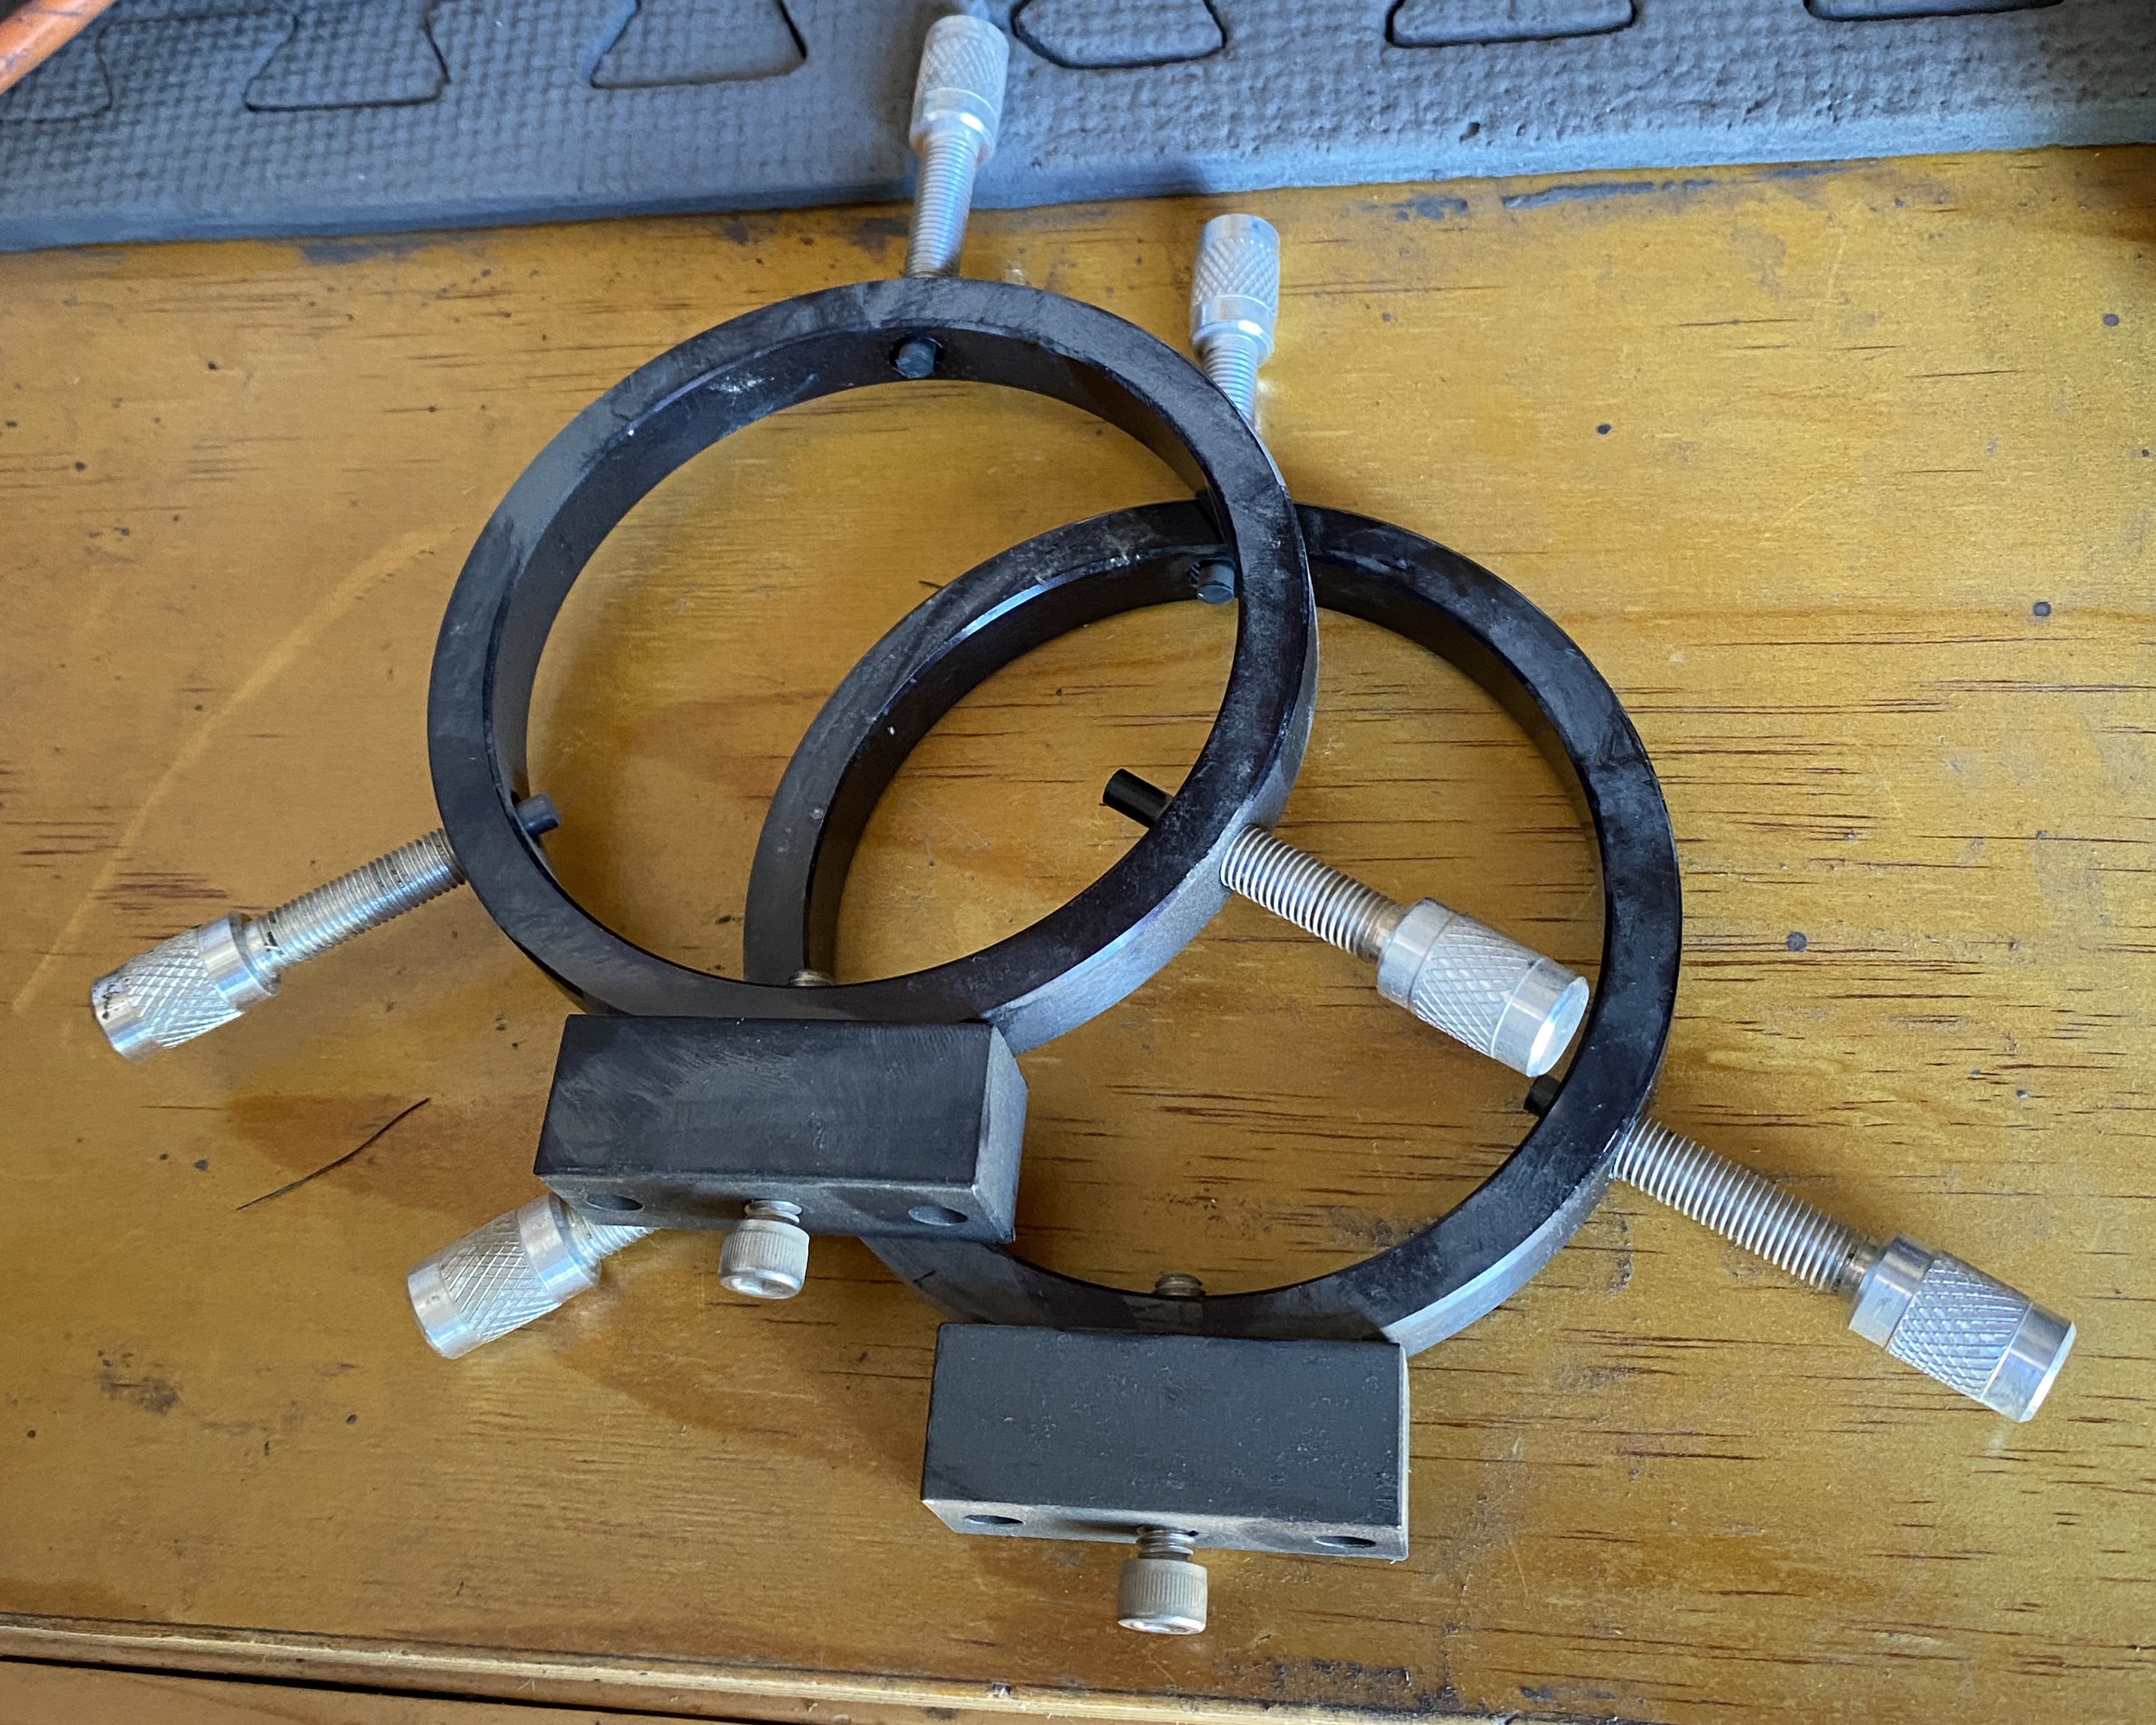 |
$40 | Pair of mounting rings for small refractor / guide scope. |
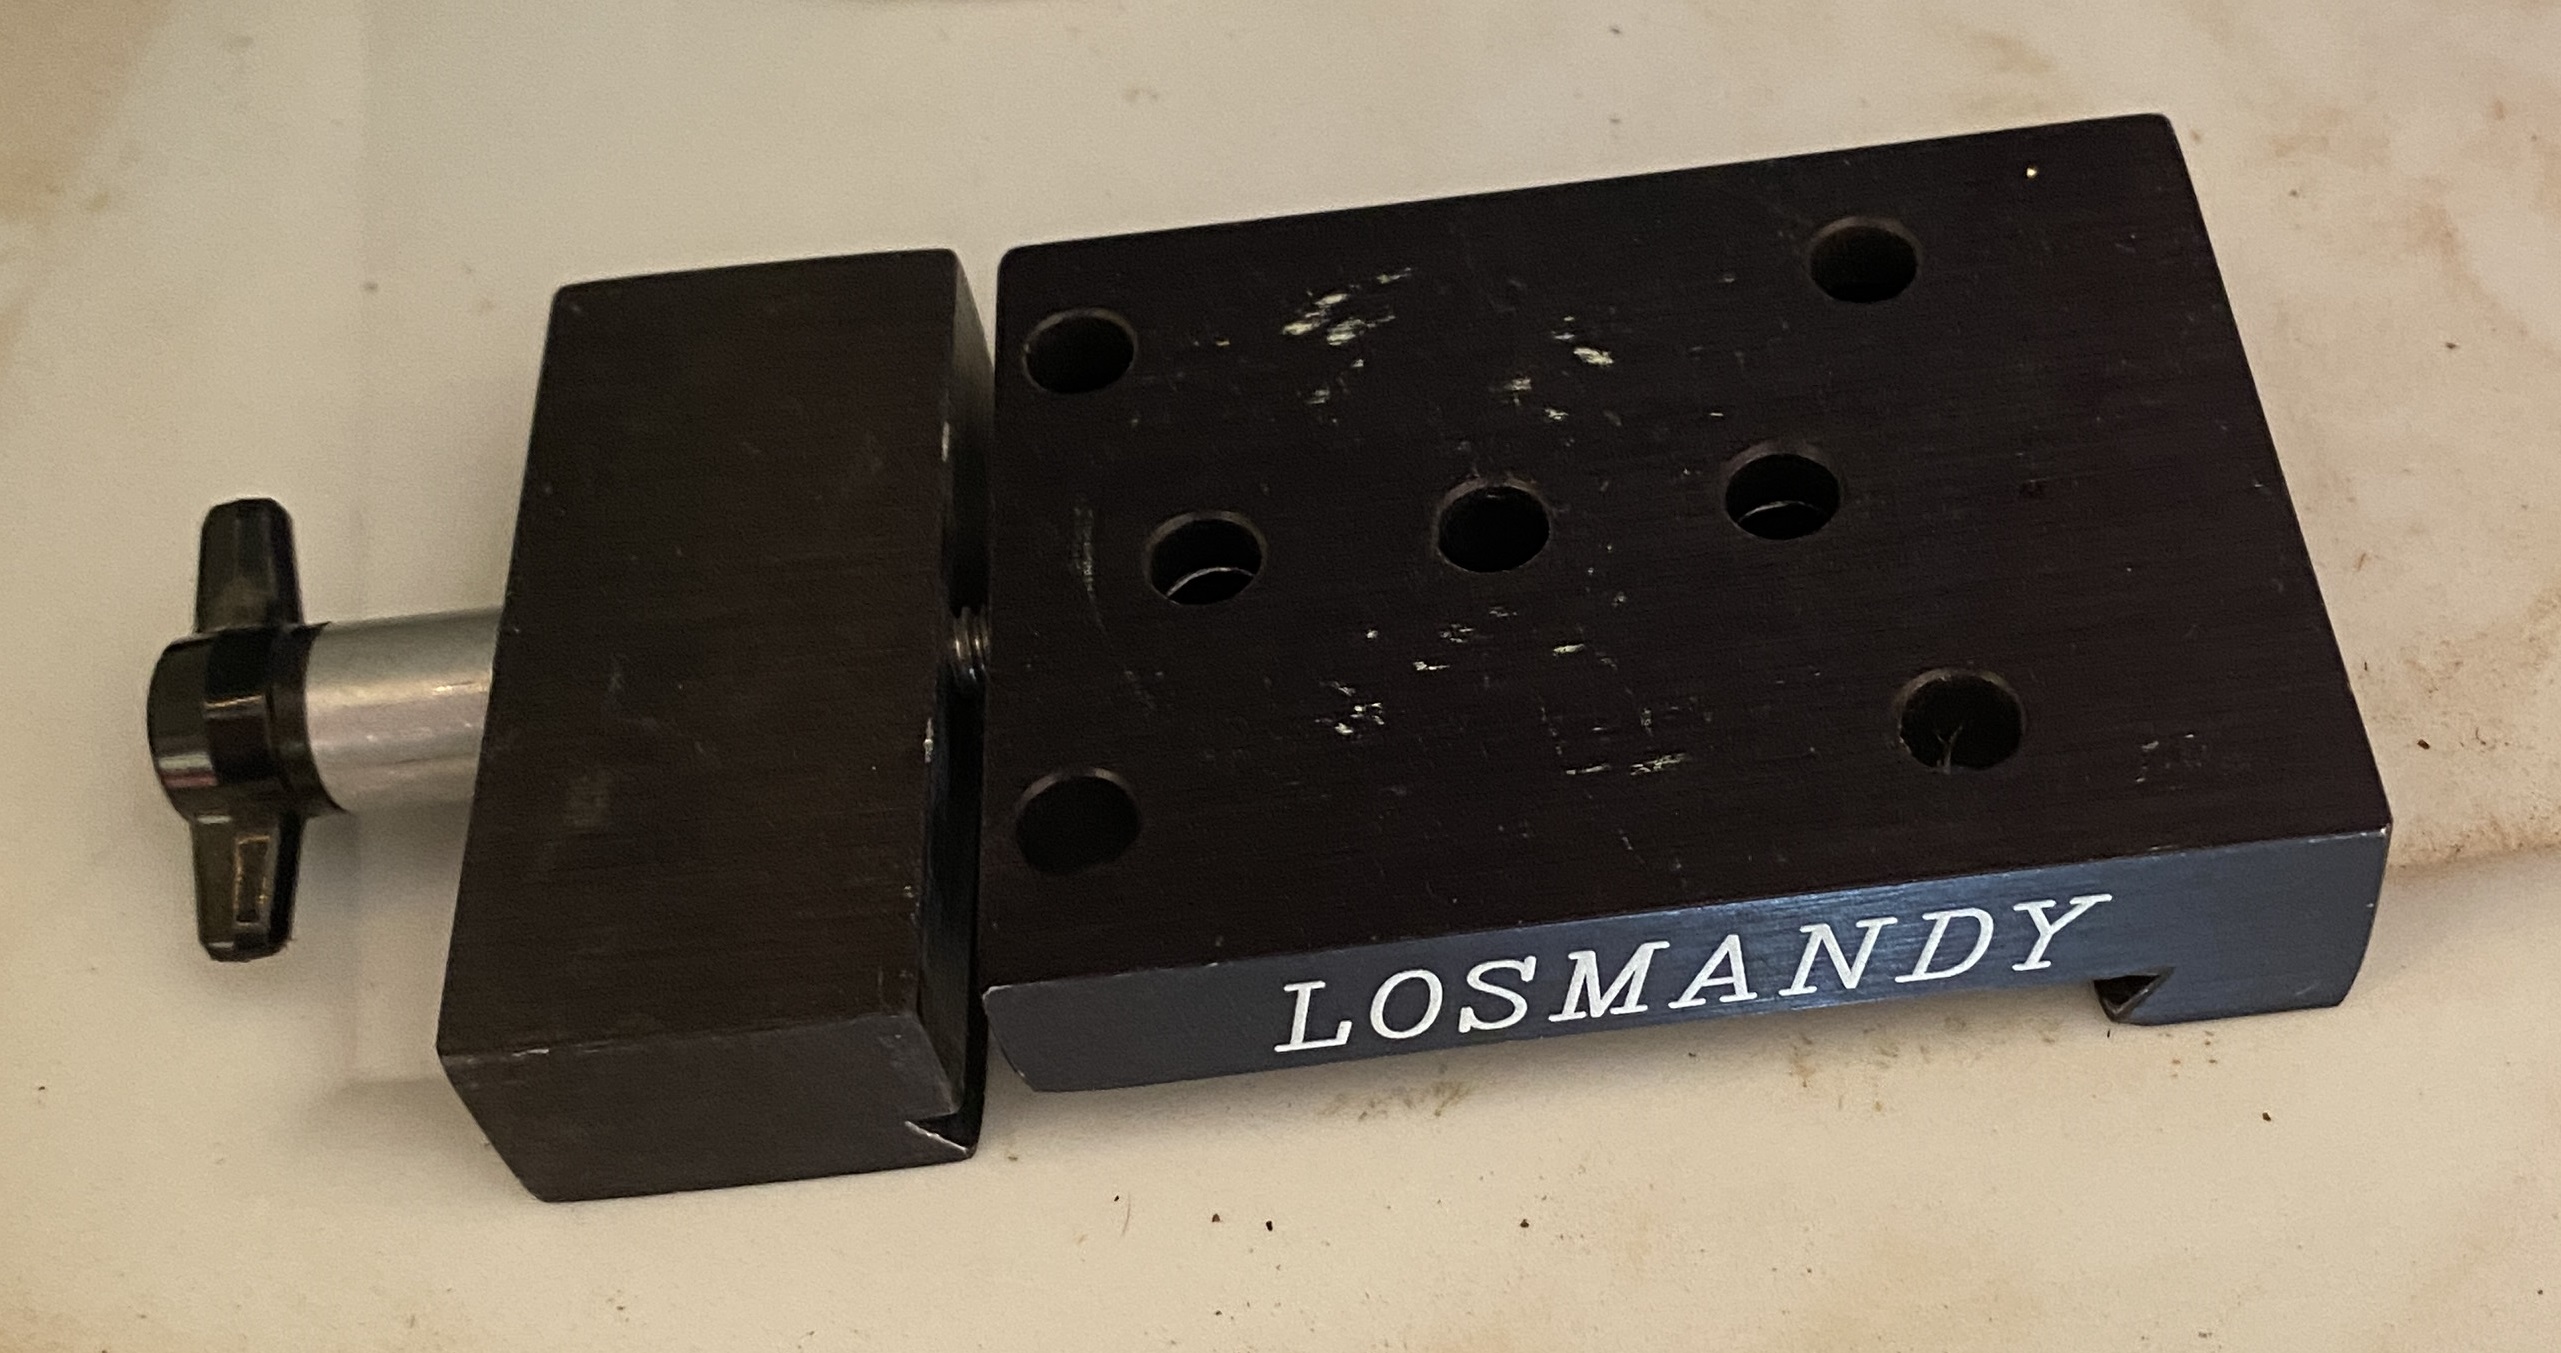 |
$20 | General mounting base for Losmandy rail. Has several tapped holes for mounting things. |
 |
$20 | 1/4-20 base. For Losmandy D rail, for mounting camera or similar. |
 |
$30 | Losmandy D rail to fit Celestron 11 SCT. May also fit Meade 10? |
 |
$10 | Extender. Provides 1.25 and 2 inch eyepiece support. |
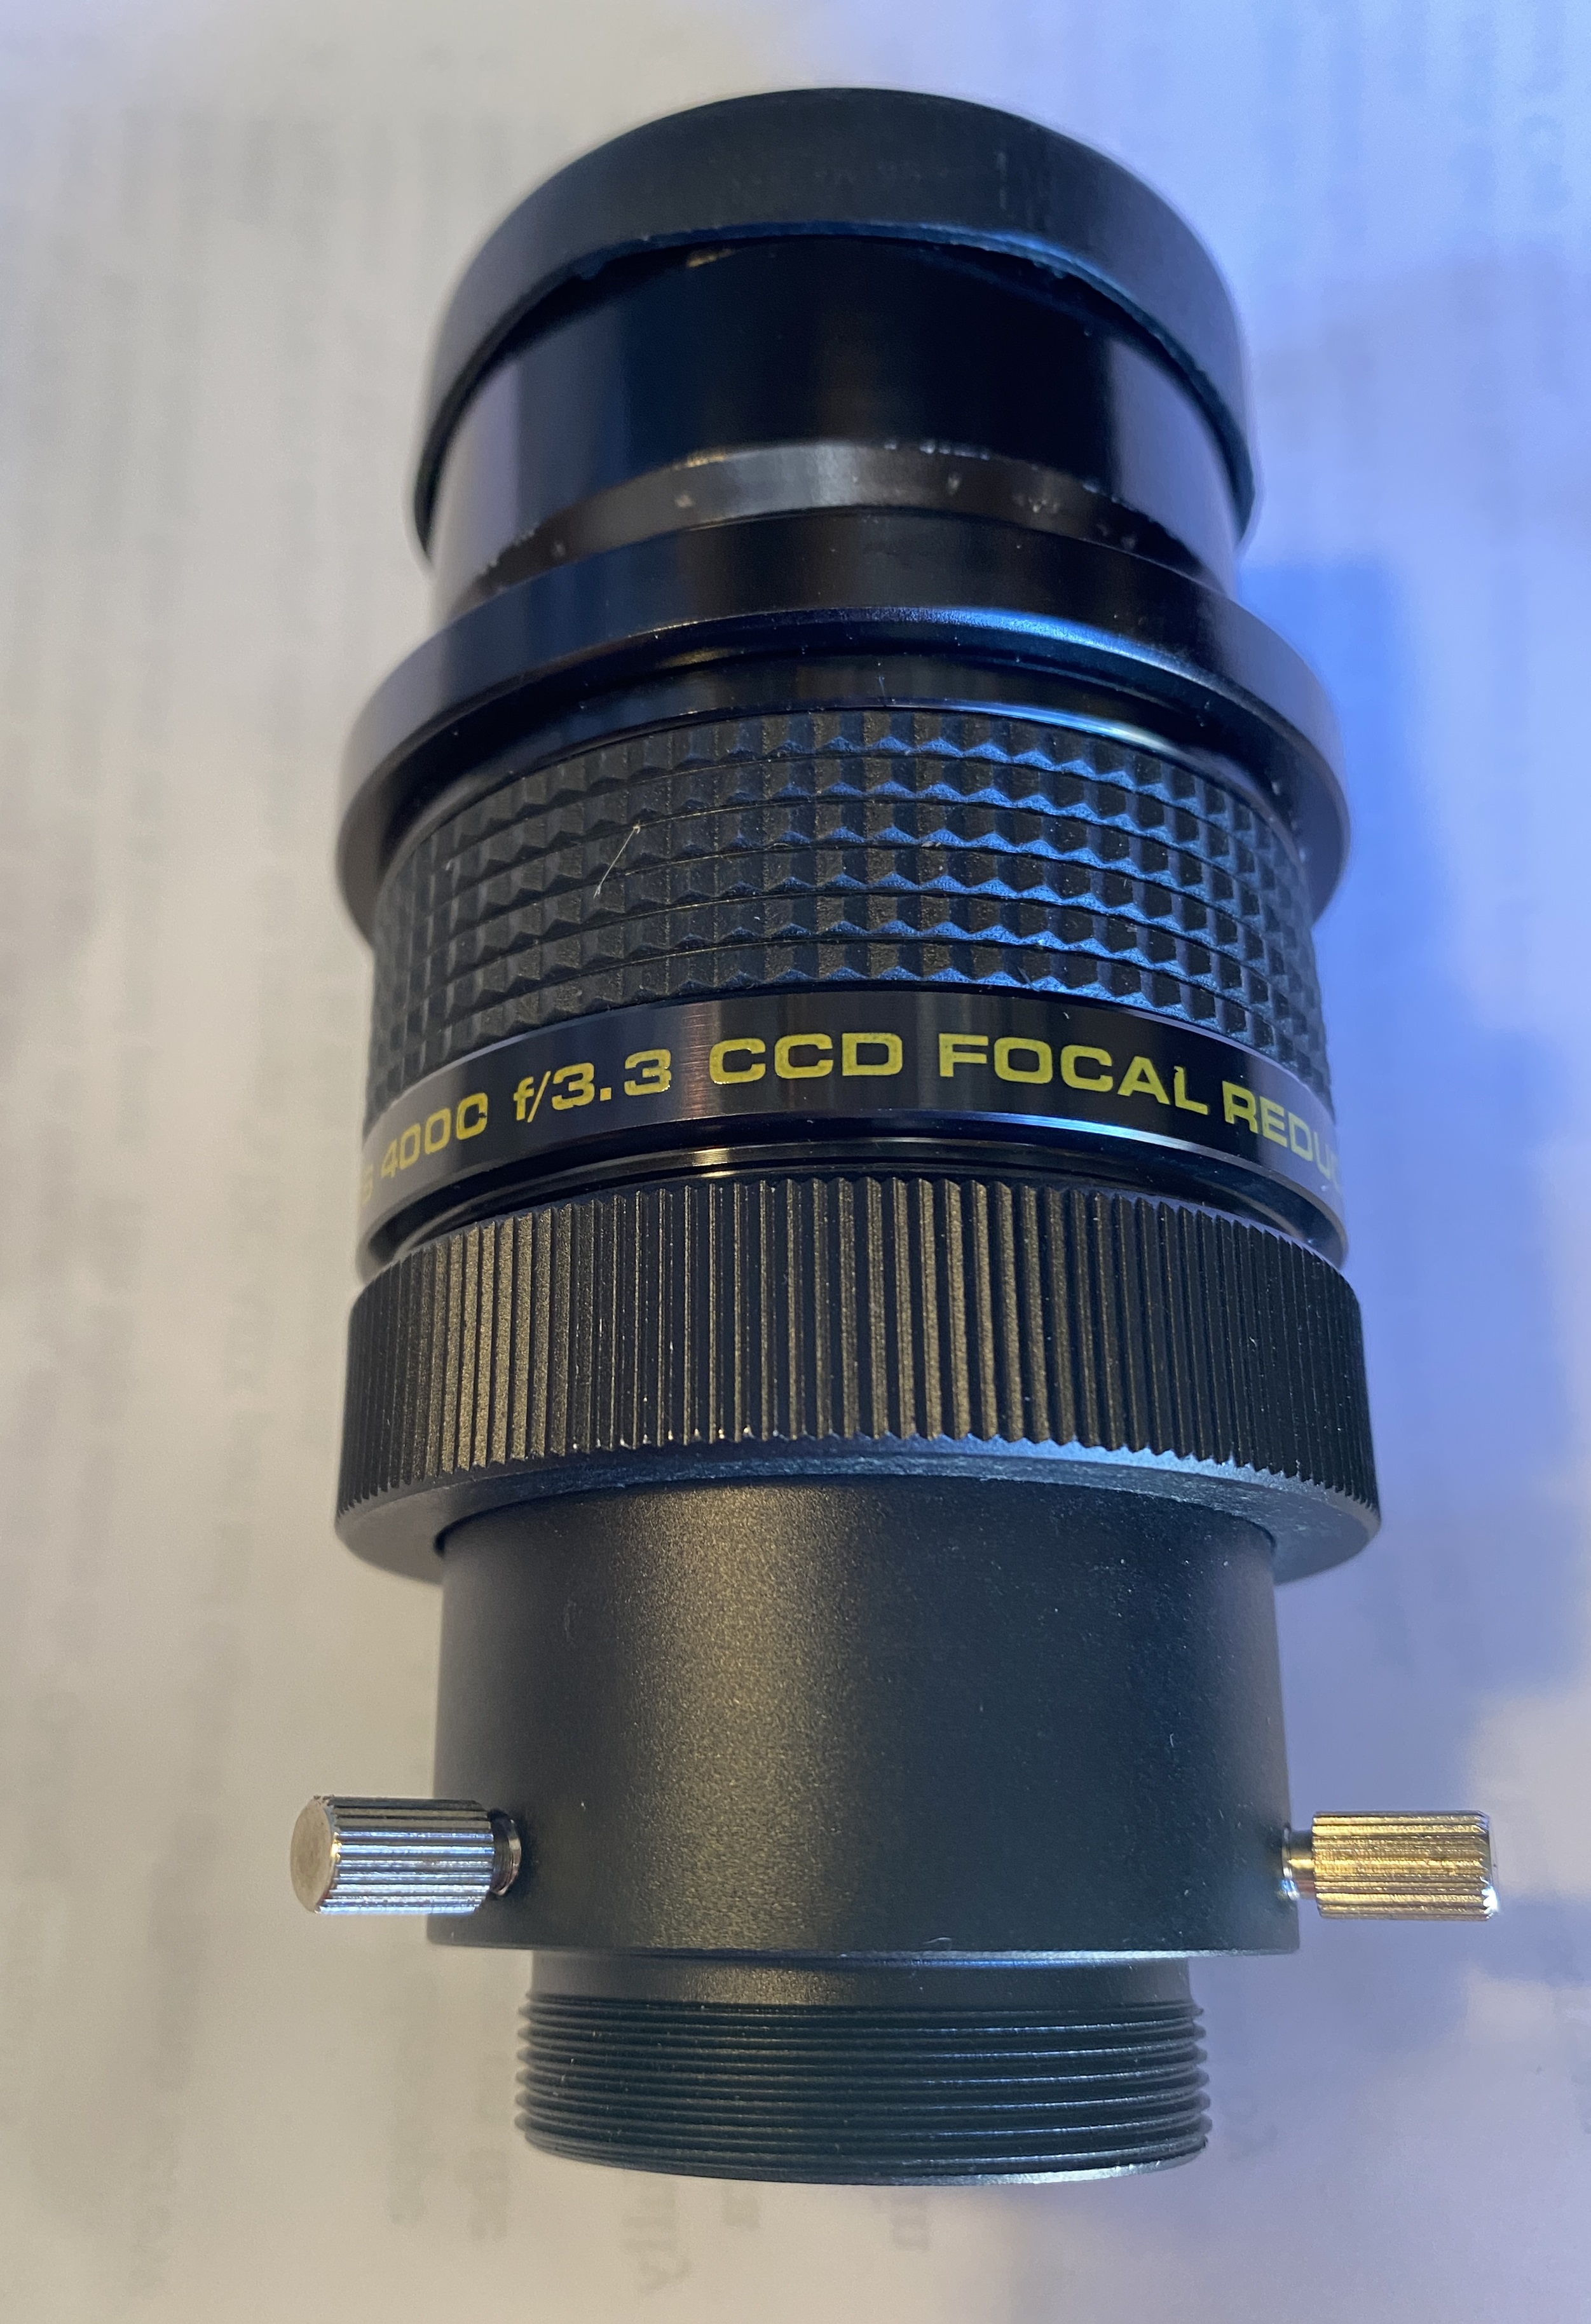 |
$20 | Meade f3.3 focal reducer / field flattener for SCT. |
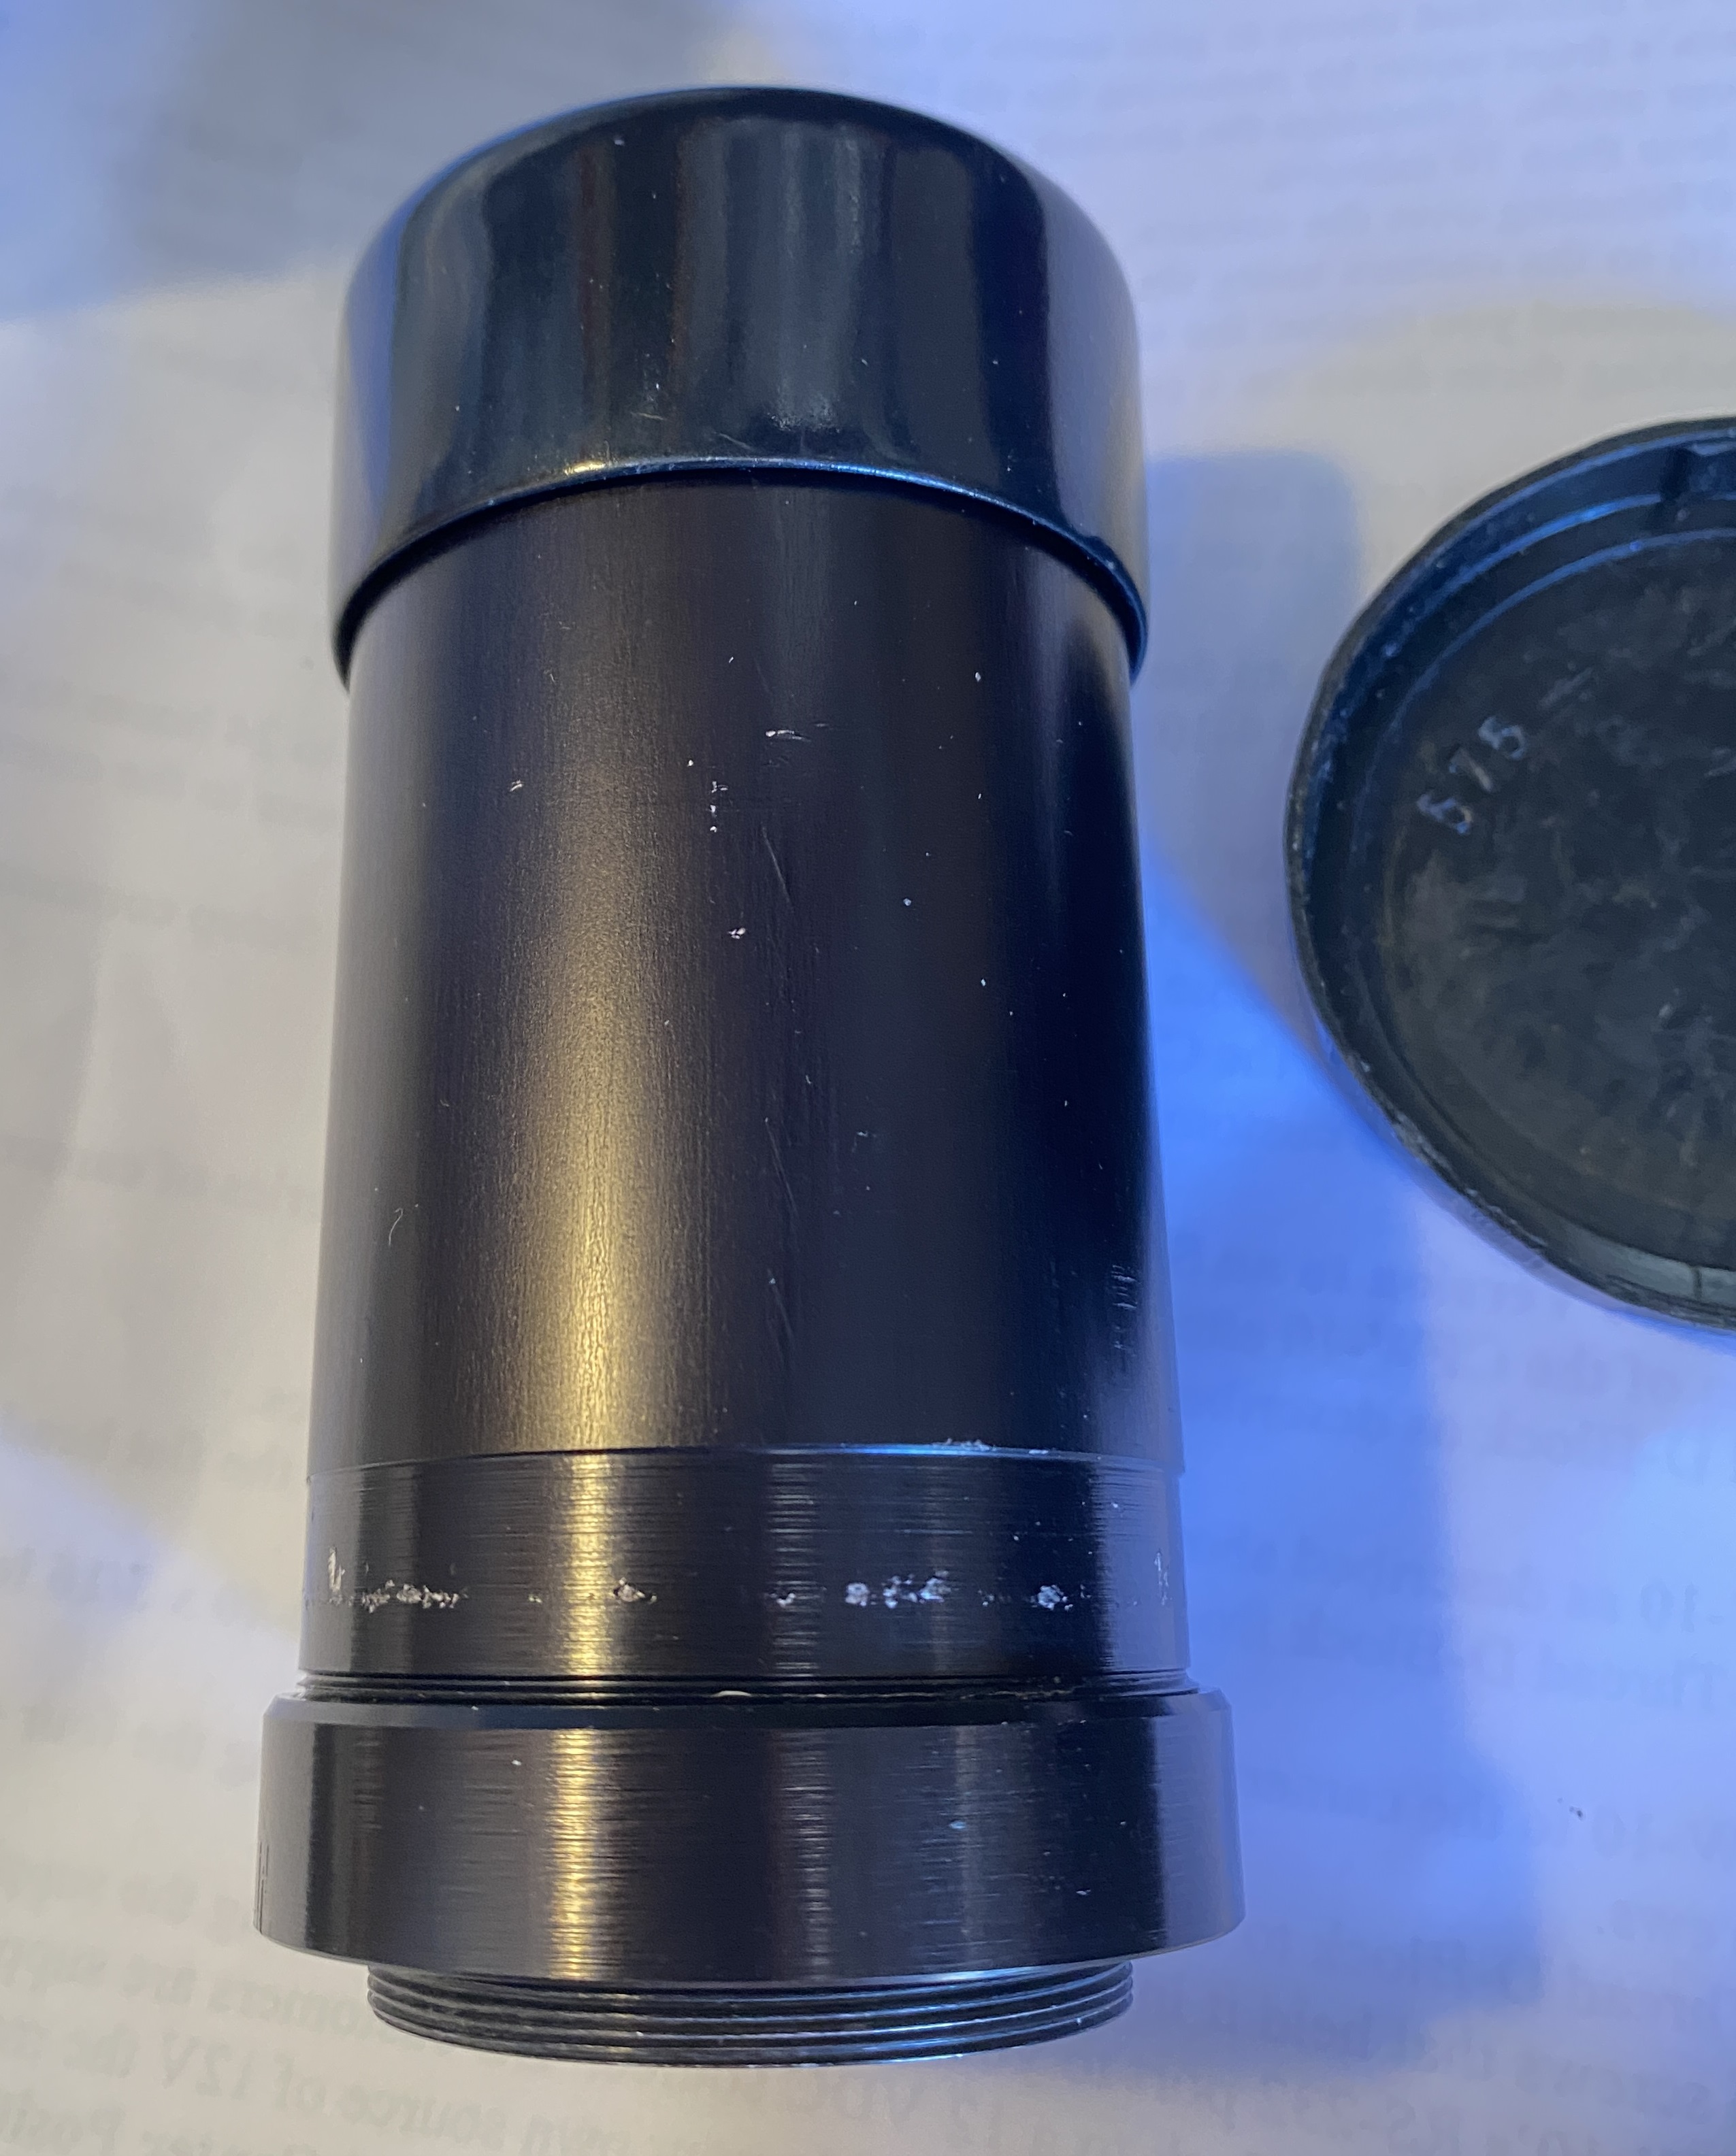 |
$20 | Celestron f6.3 focal reducer / field flattener. The flattener is installed in the tube, allowing a completely threaded imaging train. |

|
$25 | Star Analyzer 200-F. This is used to do spectroscopic studies on stars. This allows a good introduction to the spectroscopy field, learning to use the software packages and so on before commiting to an expensive spectrometer. |
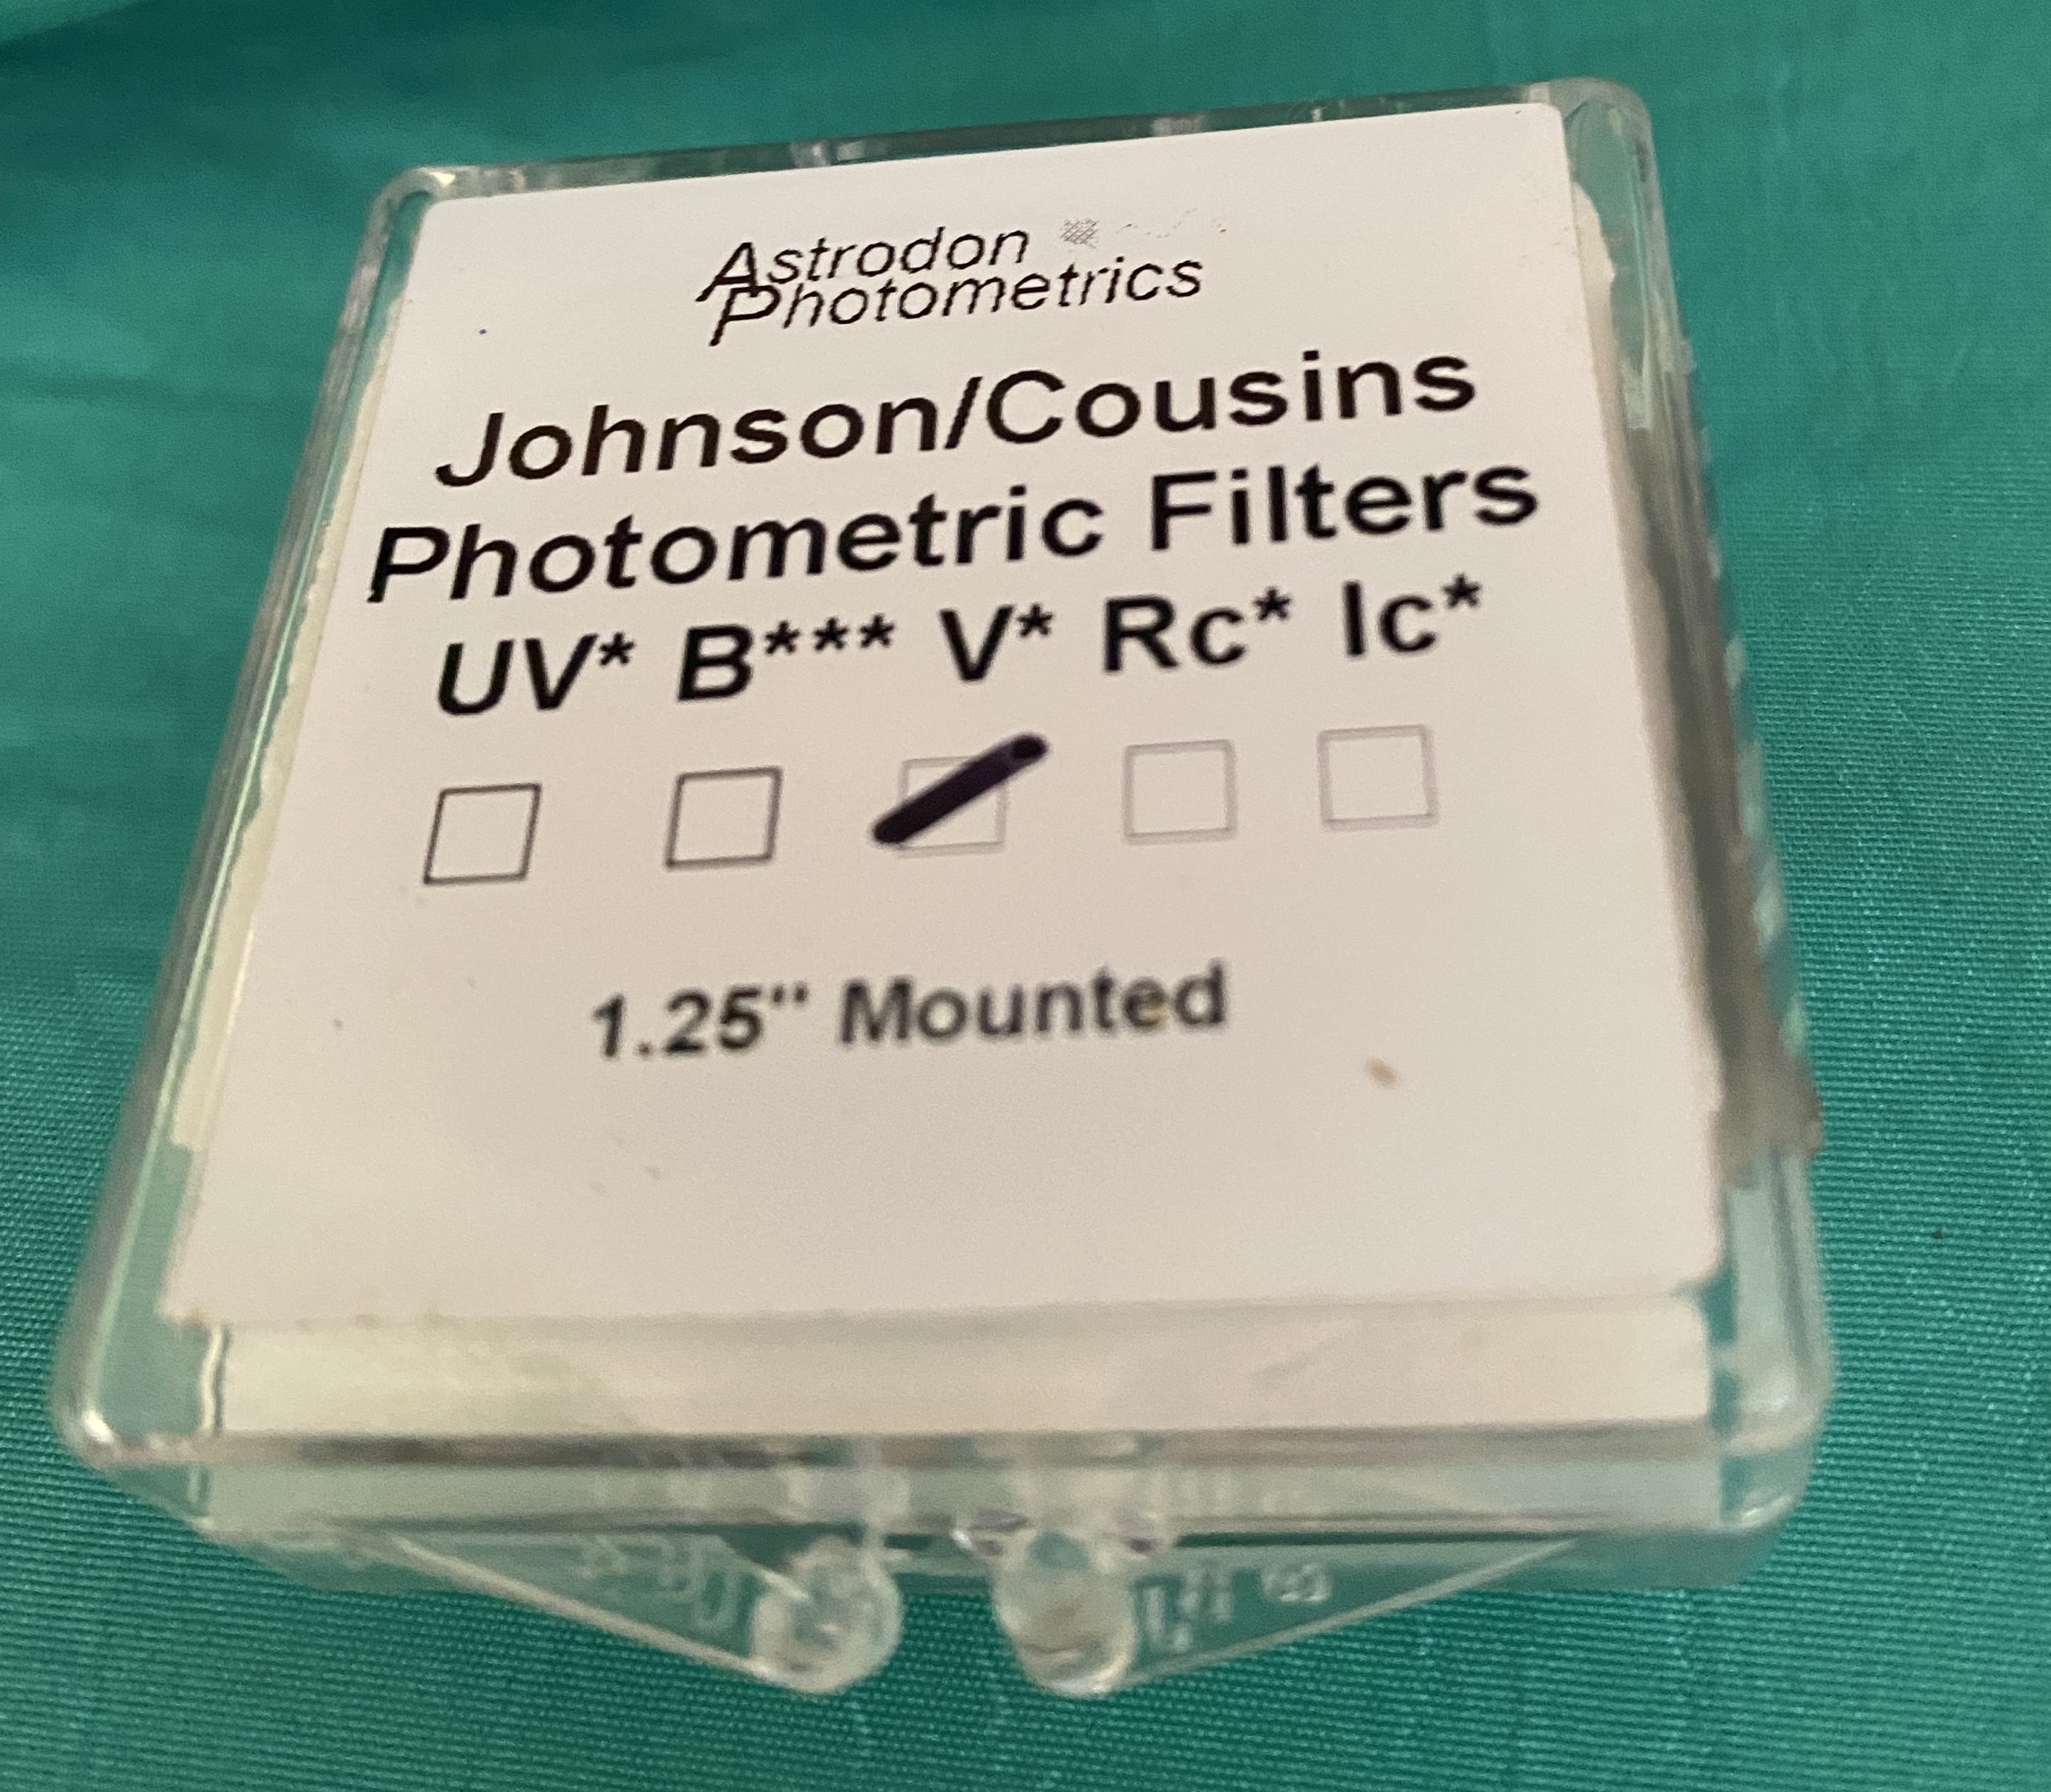 |
$25 | V filter. Used when doing asteroid studies of shape and rotational period. |
 |
 |
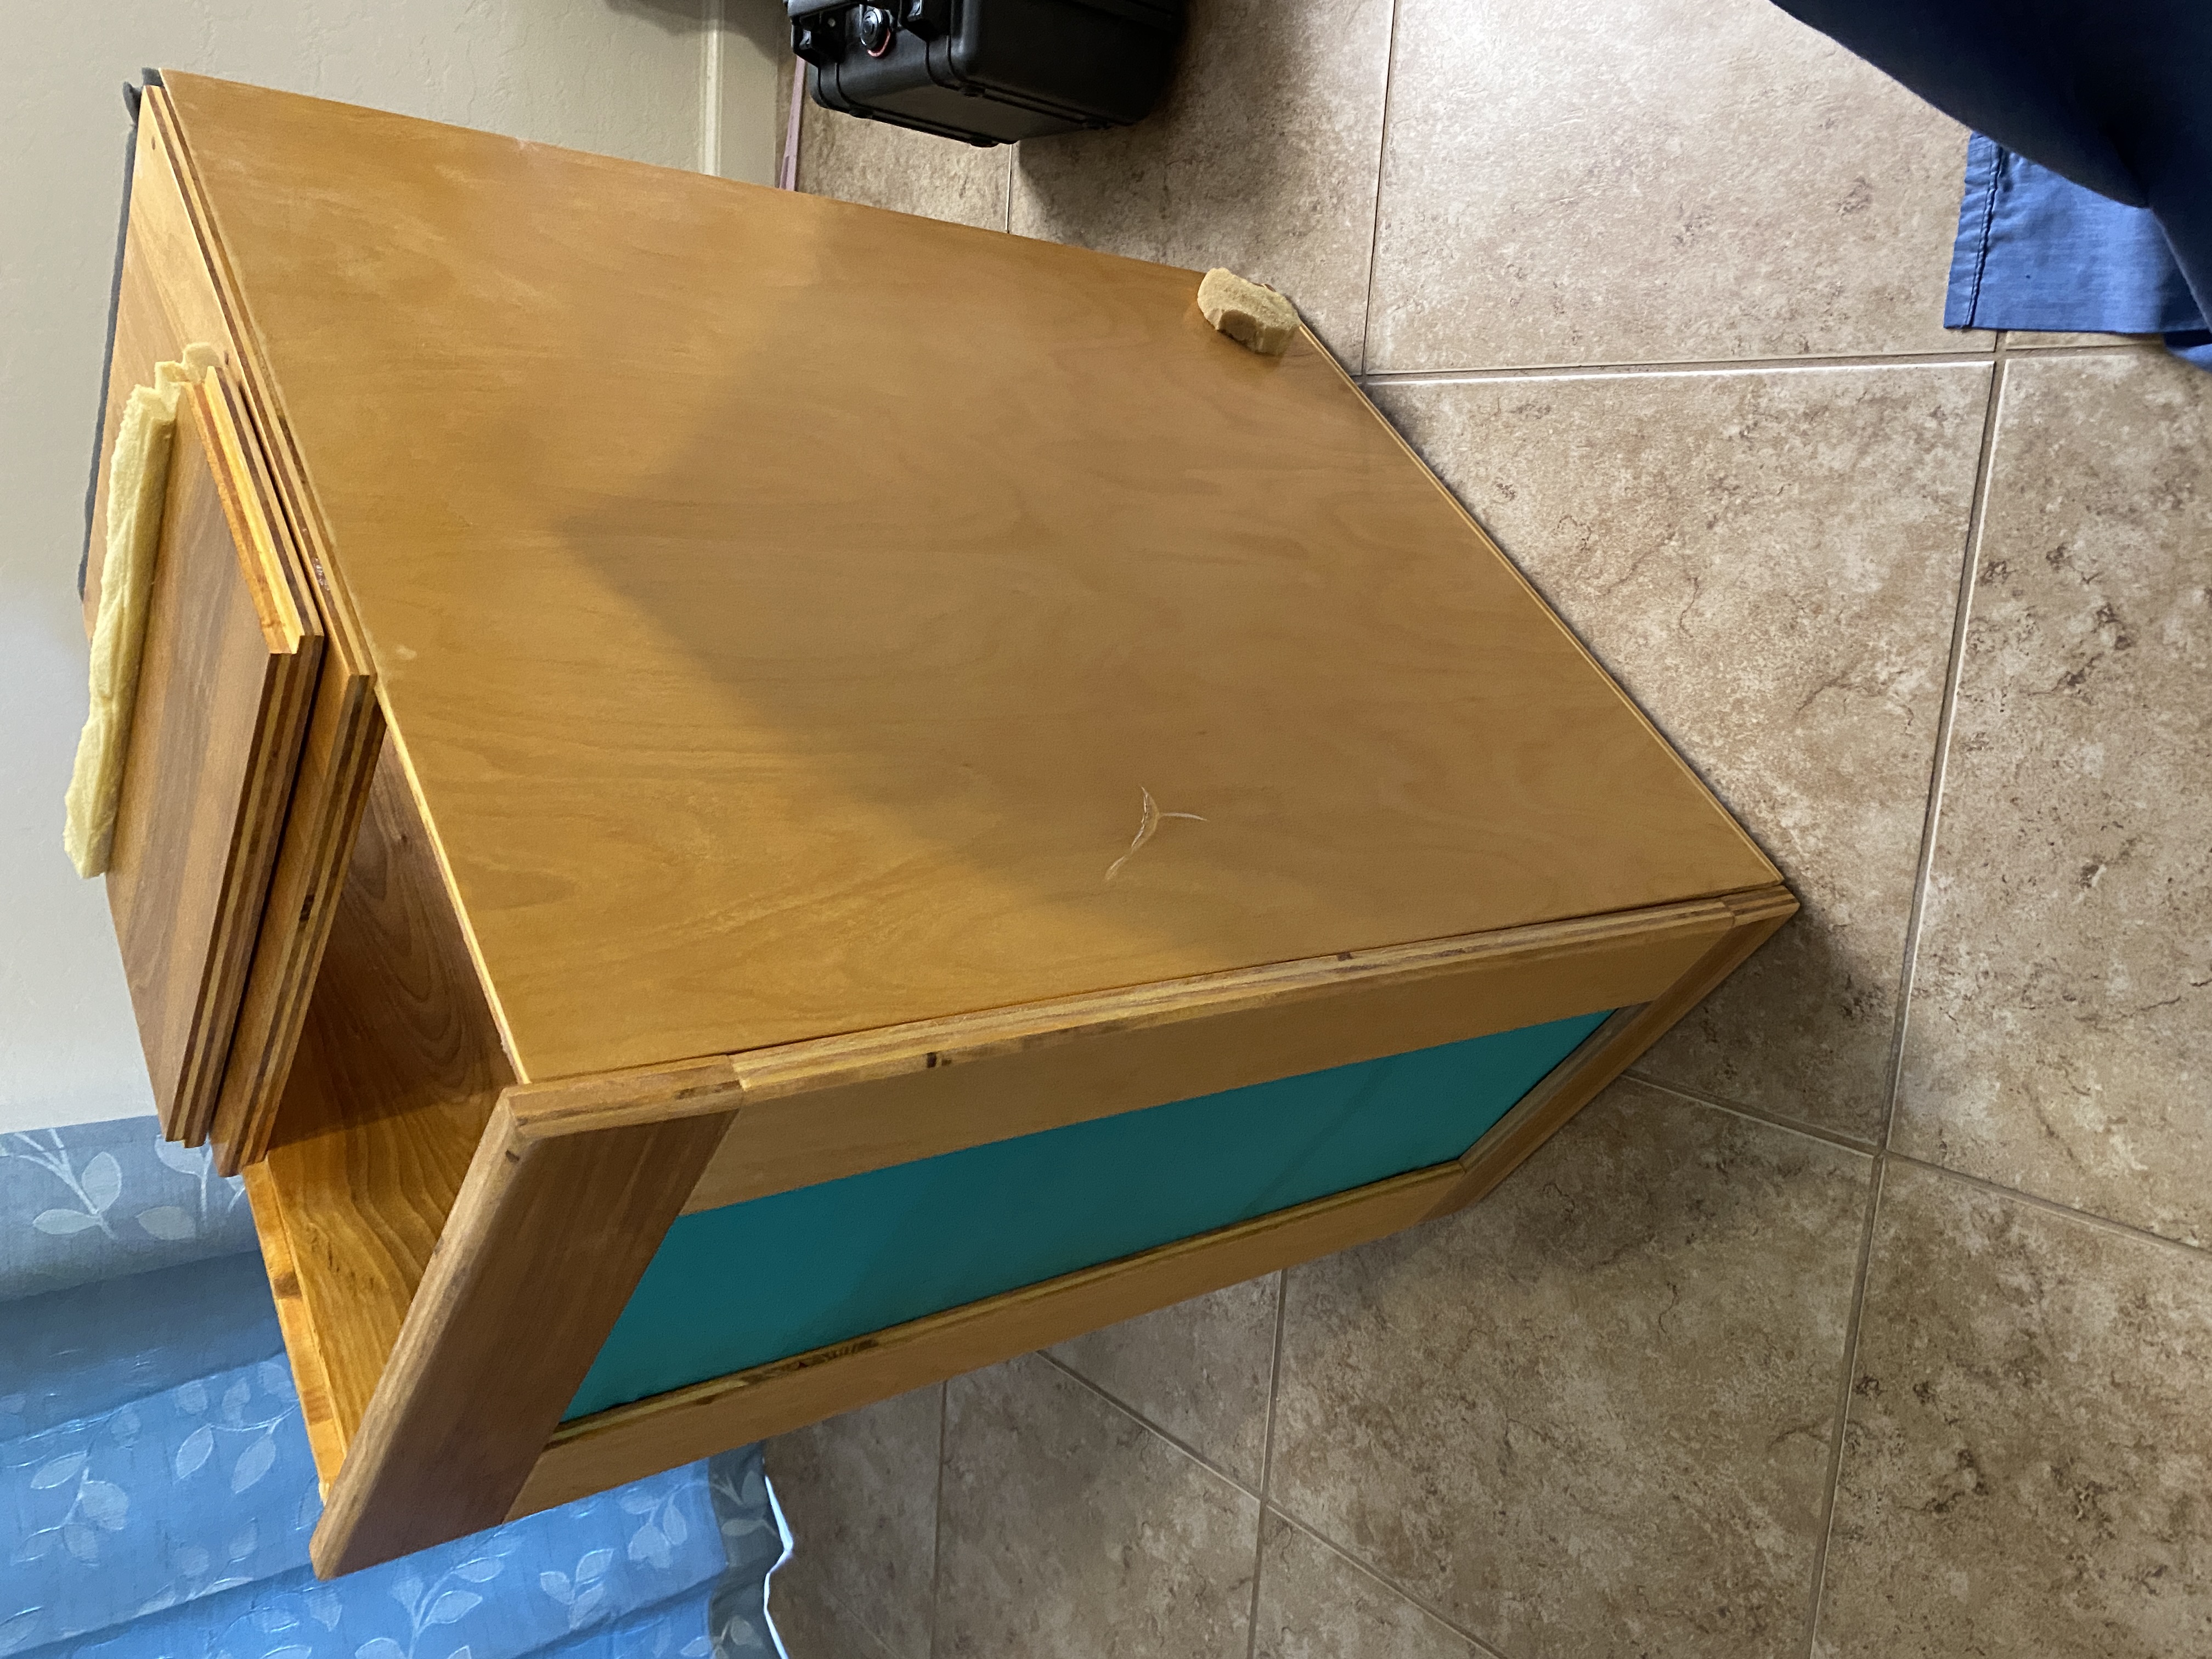
$10 |
Electronics cabinet. I built this cabinet to house most of my electronics. It was situated next to the pier to minimize cable distances. Some Features: 13.5" wide by 25.5" deep x 31" tall.
|
||
 |
 |
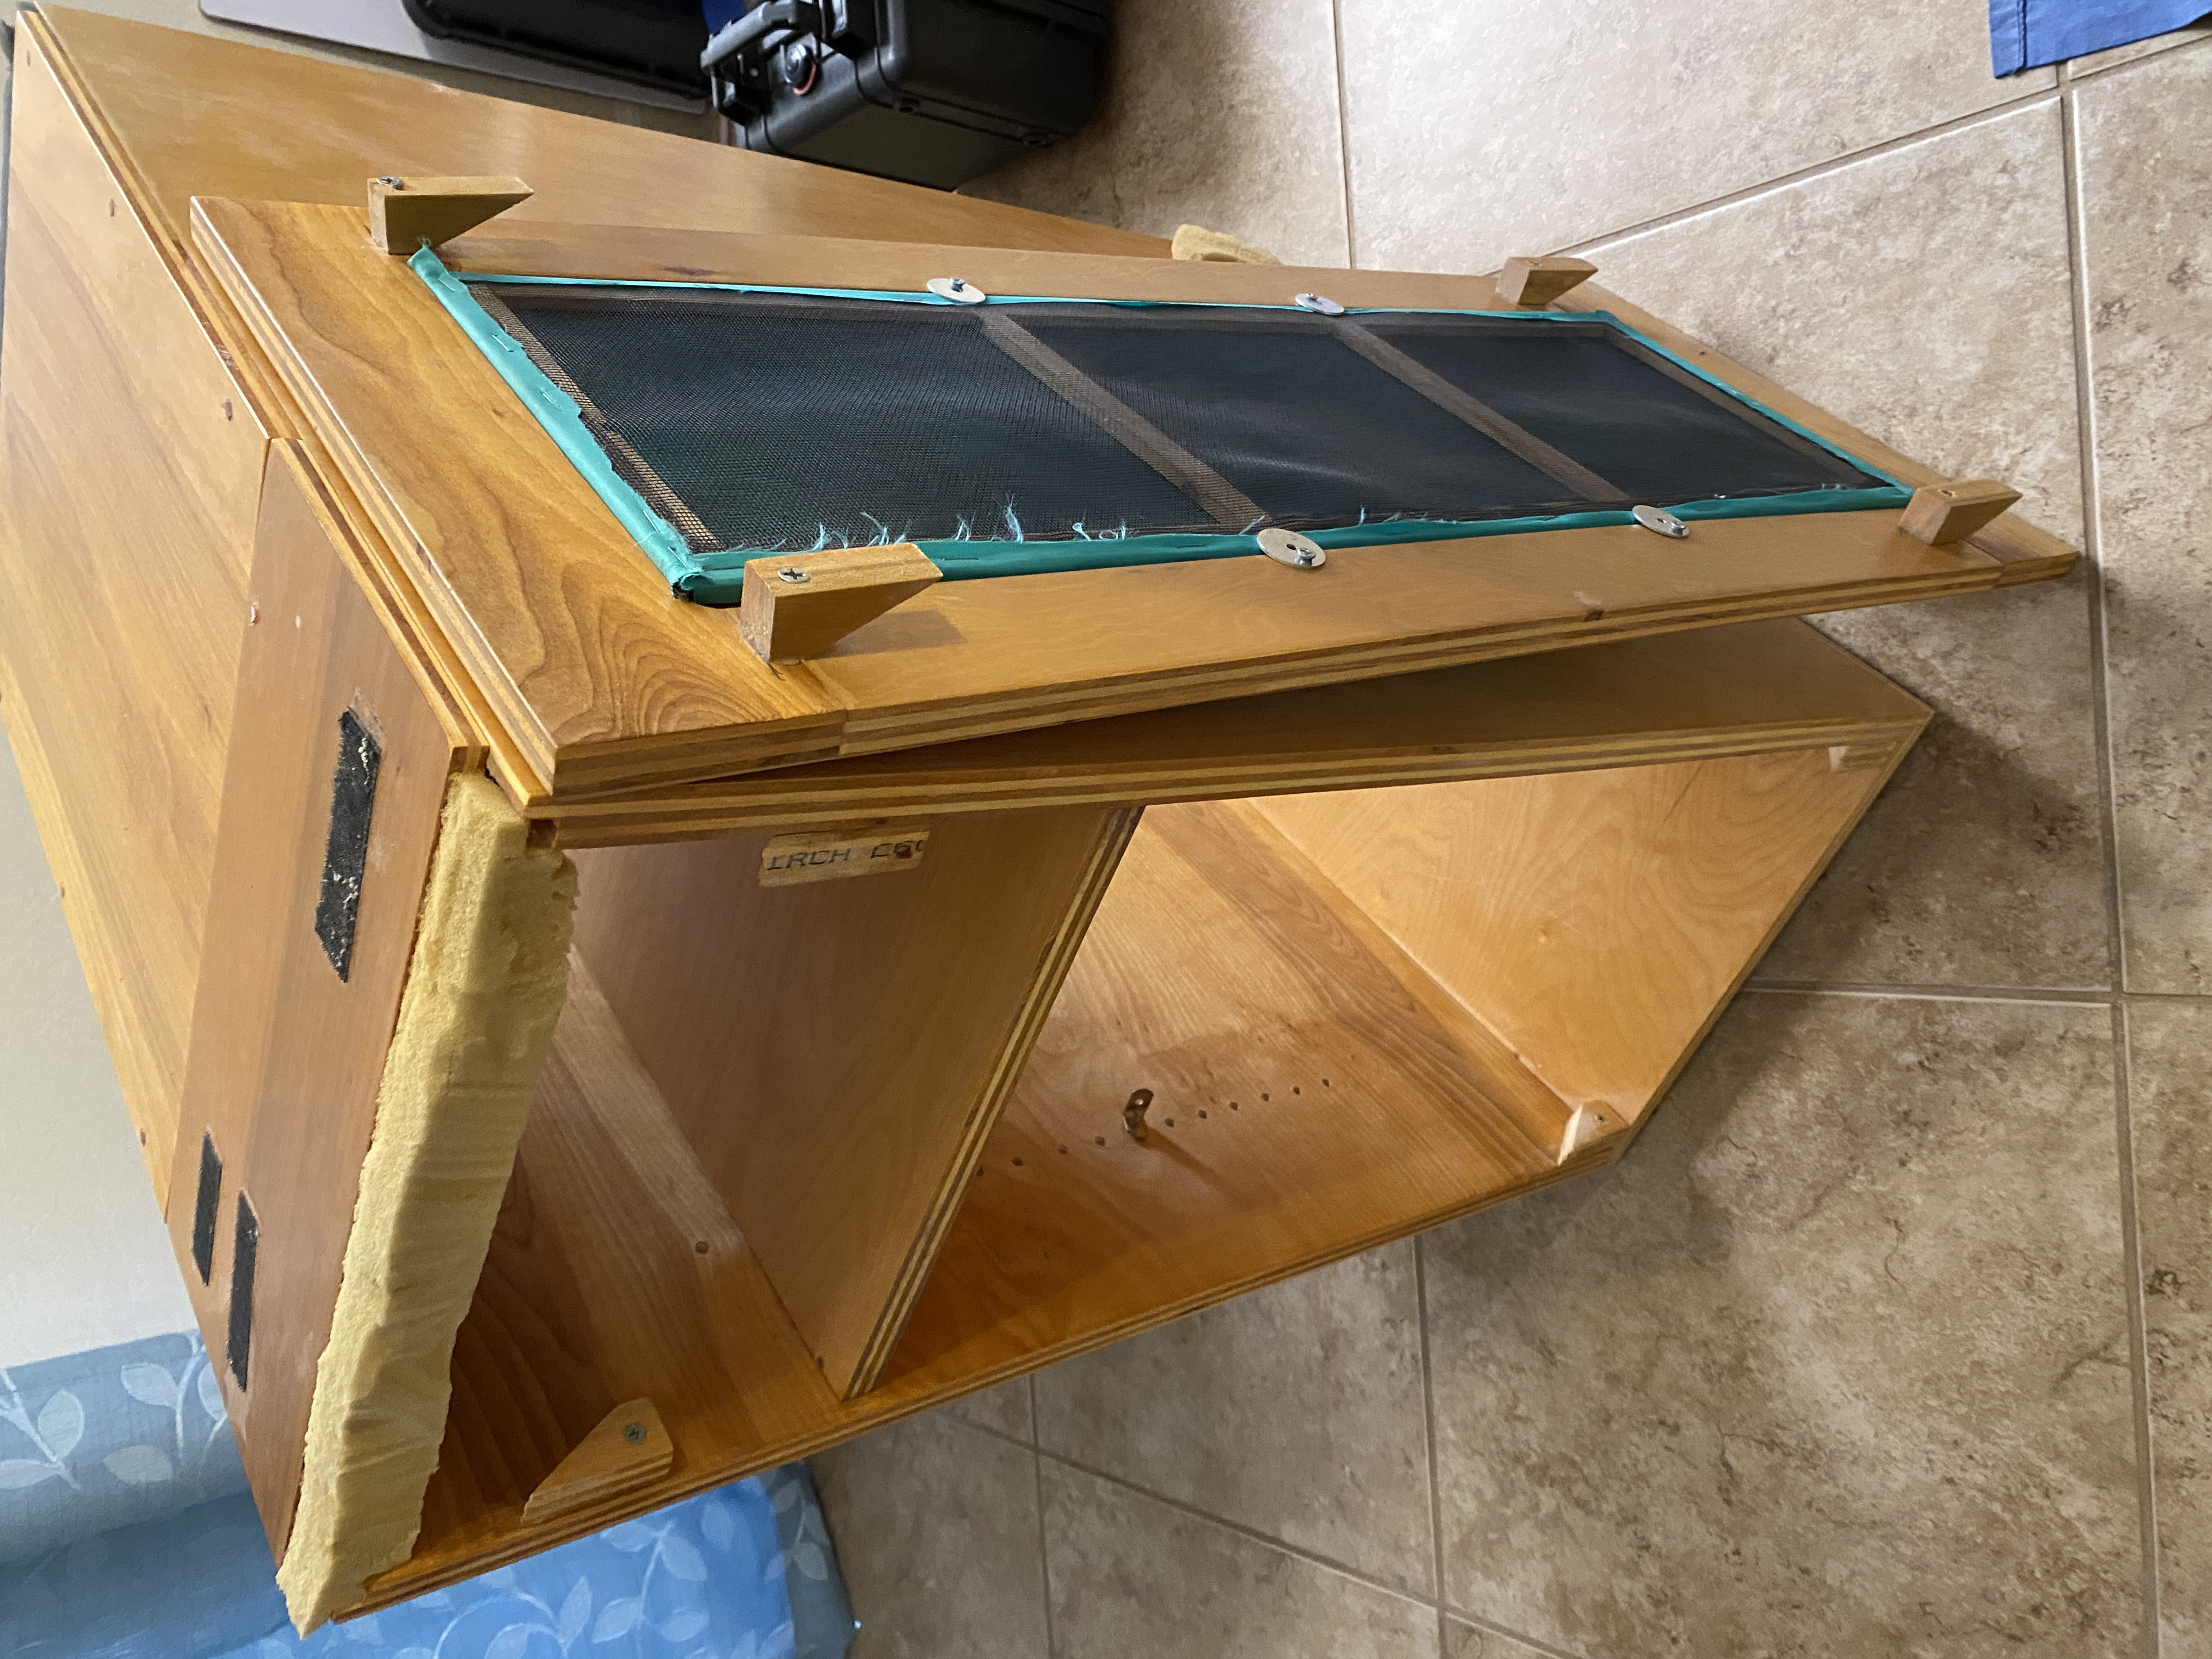
$25 |
Computer Cabinet. This cabinet housed the main computer, power sources, and networking devices. A number of cables ran to the dome controllers and USB extenders. Construction is very similar to the Electronics cabinet.
|
||
|
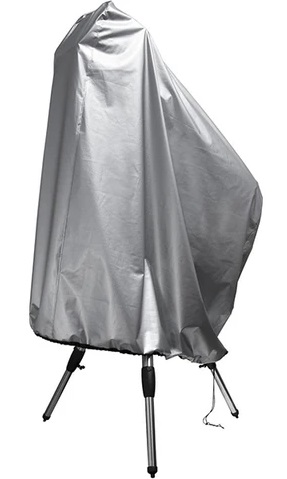
$10 | Shroud for telescope in the field. This shroud fit over a NexStar 11" mounted on a Meade Giant Field Tripod. |
|
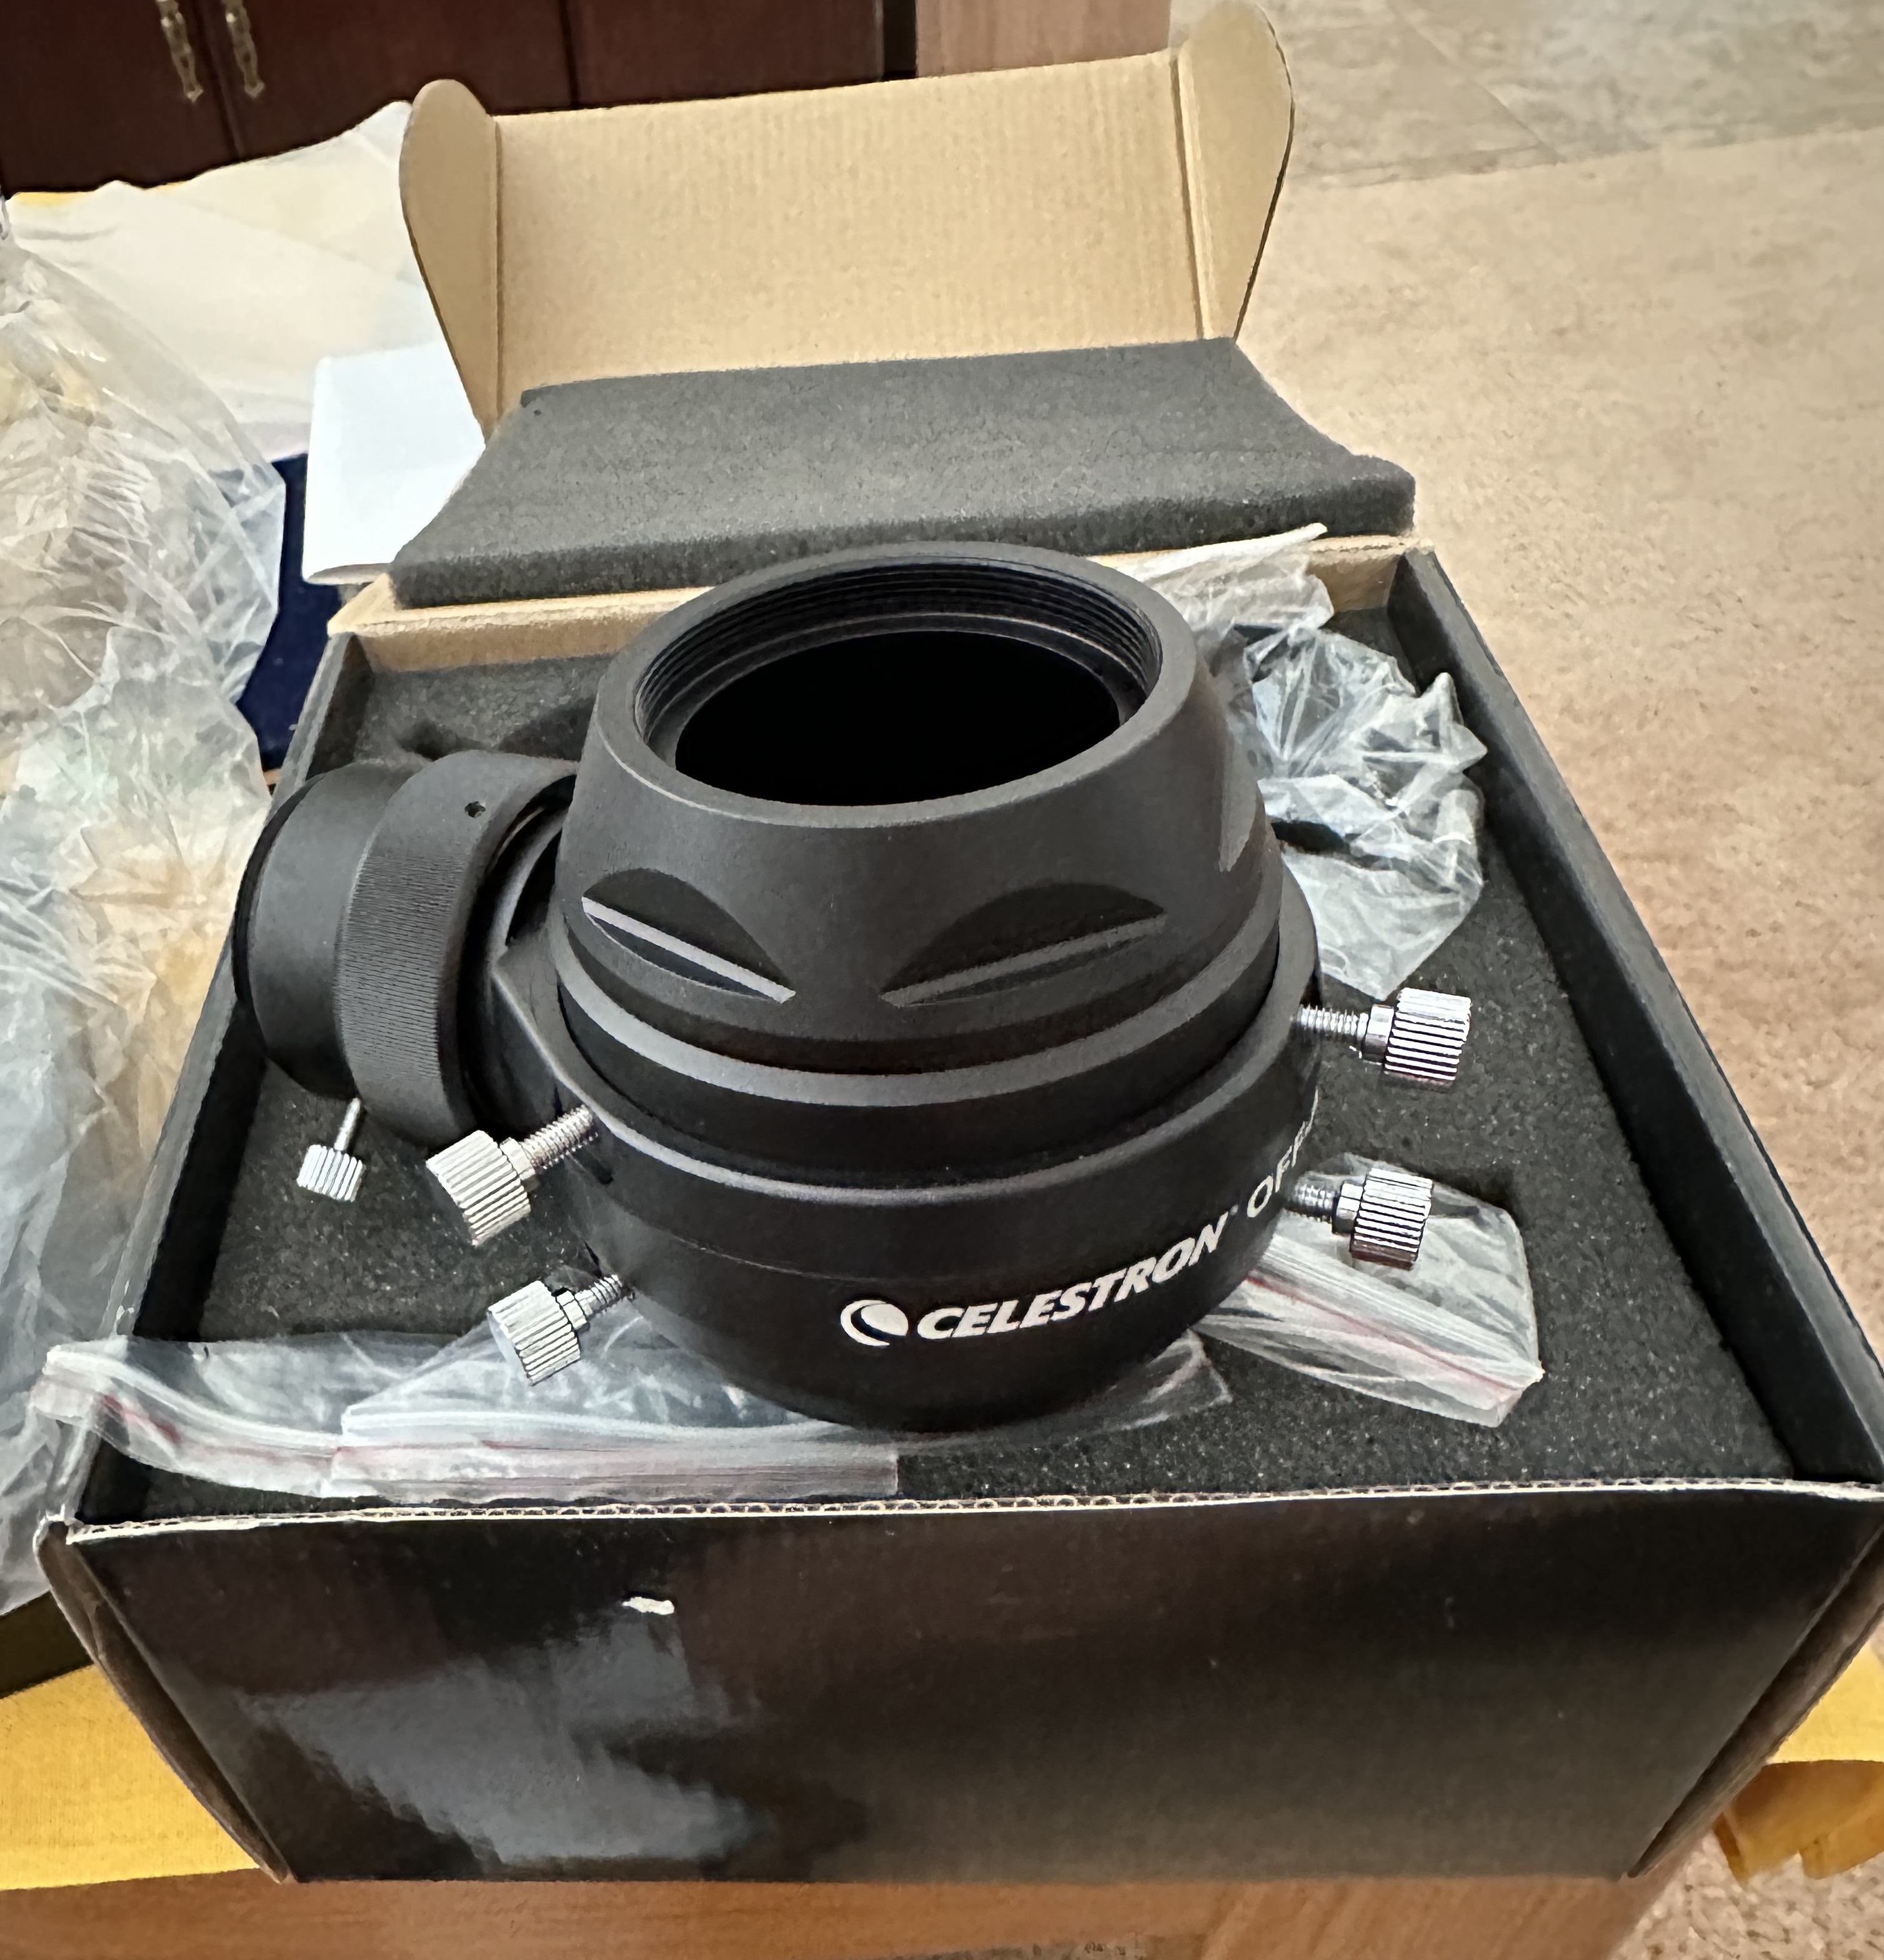
$20 | Celestron Off Axis Guider. Allows guide camera to be mounted perpendicular to the main optical path. |
 |
$50 | Very nice Hotech SCA Laser Collimator. Originally cost $145. |